

In my previous post, I showed how you can use Azure pipelines to build your Blazor (or Razor Components) apps. This time, I’m going to show you how you can deploy a Blazor app to Azure storage using Azure pipelines.
One of the great things about Blazor applications, once published, they’re just static files. This means they can be hosted on a wide variety of platforms as they don’t require .NET to be running on the server.
This opens up loads of hosting options which .NET developers have not been able to use before now. The one I’m going to show you in this post is Azure storage. Just to be clear, Azure storage is not a free option but it’s a very low cost one. I use Azure a lot so keeping everything in one place is easier for me and I’m happy to pay a few pennies a month for that. If you’re looking for a completely free option, then GitHub Pages or Netlify would be worth checking out.
I’m going to assume you already have an Azure account, but if you don’t, you can sign up for one here.
Creating a Storage Account
We’re going to start by creating a new storage account, this is where our site is going to be deployed. Once you’re logged into the Azure portal, go to the storage accounts service.
From here, click Add.

We’re now presented with the create storage account screen.
If you have multiple subscriptions you will need to make sure the one selected is correct. You then need to do the same with the resource group. You also need to give the storage account a name. You can leave the defaults for everything else and press Review + create.
You’ll now be presented with a summary of what is going to be set up.
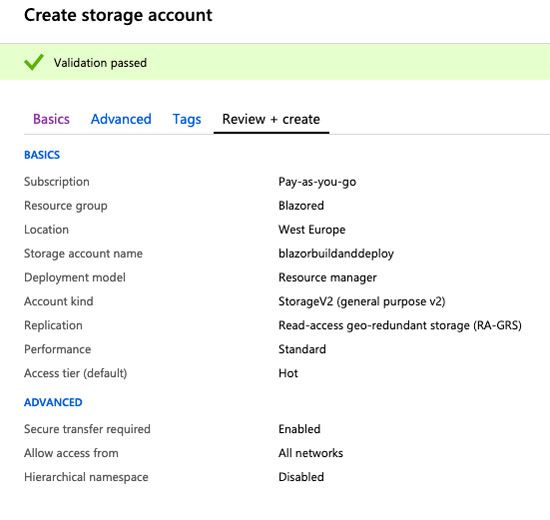
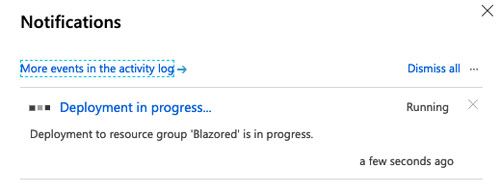
You just need to press Create and Azure will begin deploying your new storage account.
Configuring the Storage Account
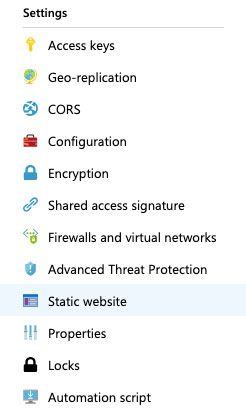
After a minute or two your new storage account should be ready. If you go to the storage account service, as we did earlier, you should see your new account in the list. Click on it and you’ll be taken to the details view. You then need to click on the Static website link in the settings menu.
You should now see the static site configuration screen.
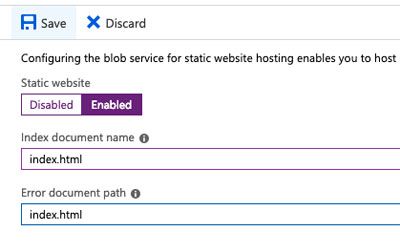
Click Enabled, then add index.html for both the index document name and the error document name. What this does is set up some redirects so all requests get passed to the index.html document. We need this to happen so that Blazors router can manage all requests and load the correct components.
Once you’ve finished, you can click save.
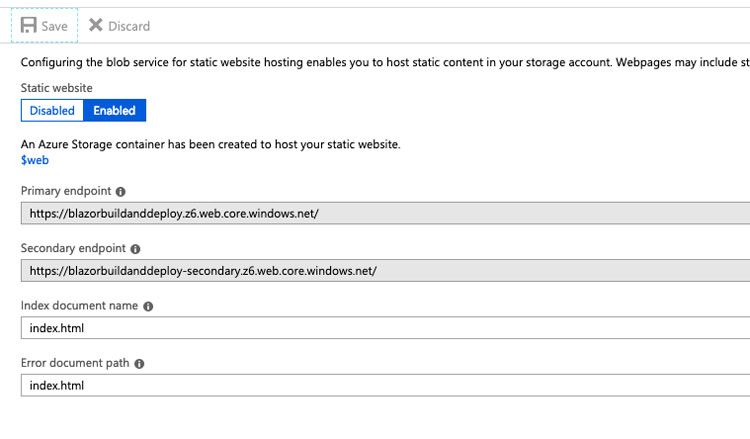
After saving you will now see two extra fields, primary endpoint and secondary endpoint. These are the addresses you use to load your site once we’ve deployed it. Save these, we’ll need them later to check the website is working once we’ve deployed it.
That’s it for the storage account. We can now head over to Azure pipelines and build our release pipeline.
Creating a Release Pipeline
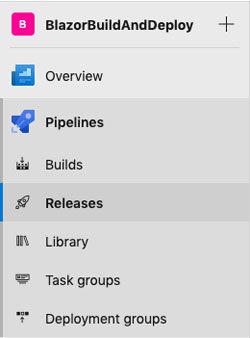
From your Azure pipelines account, select your project and under Pipelines, select releases.
You then need to click New pipeline.
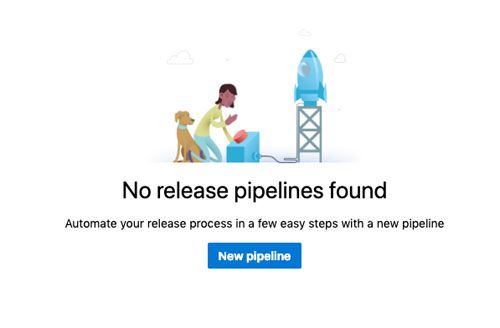
You should now see the new release pipeline screen with a menu on the right.
From the menu select Empty job template right at the top. You will now have the option to name the stage.
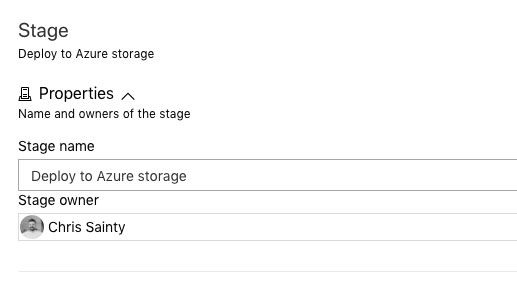
You can call this whatever you want, but it’s probably best to give it meaningful name as I have above. Release pipelines can be made up of many stages. You could have stages for dev, QA and prod for example. If you want to know more about stages in release pipelines you can check out the docs.
Selecting an Artifact
Before we configure any tasks we need to tell the pipeline what we want to deploy. In the previous post we created a build artifact, this is where we configure the release pipeline to use it.
Click on the Add an artifact box in the pipeline.
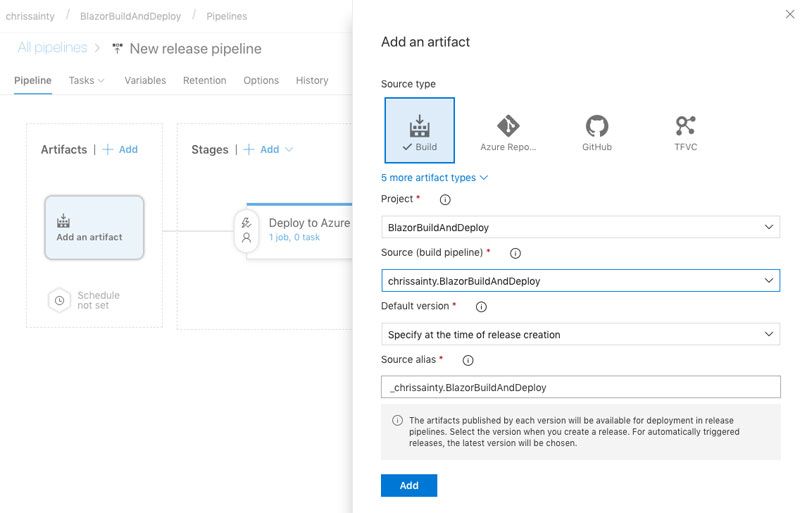
In the modal, select Build then the name of the project containing your build pipeline from last time. Finally, select the source. Once you’re done, click Add.
Tasks
In the stages section of the pipeline click on the link under you stages name.
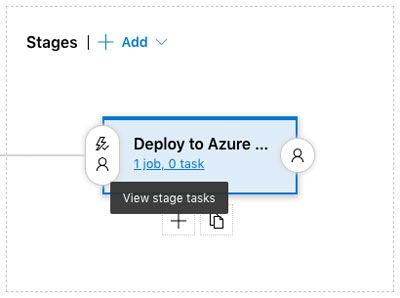
You will then be taken to the Tasks screen.

From here click on the + on the agent job.
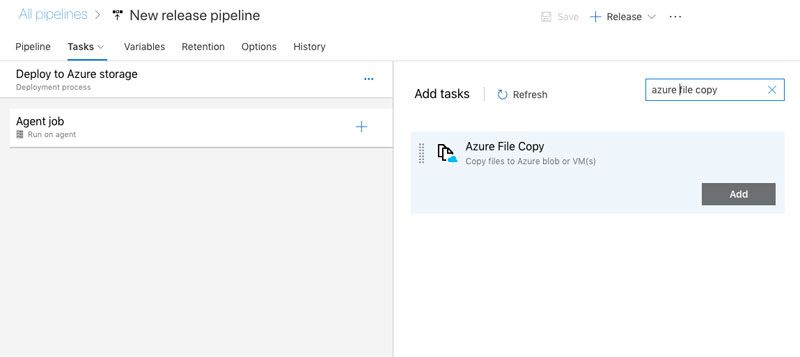
In the search box, type “azure file copy”. You should see the task above, click Add. The task should appear under the Agent job with some error text stating some settings need attention. Click on the new job.
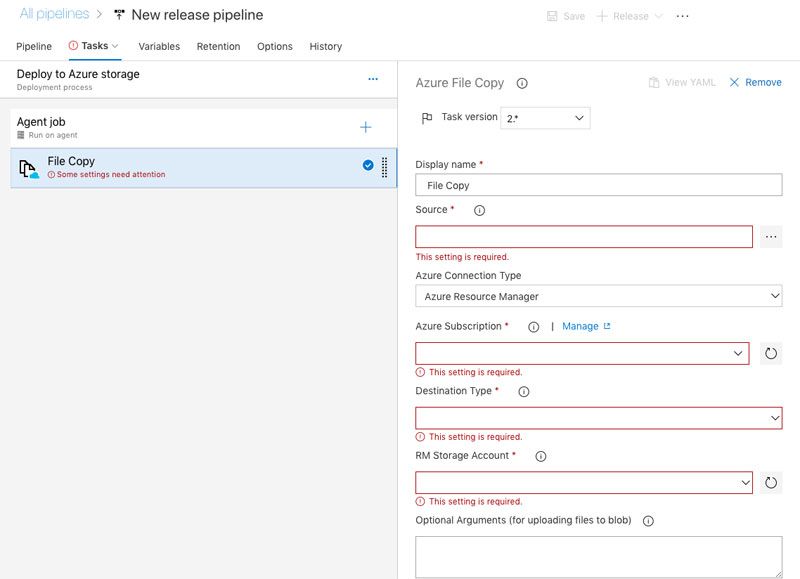
We now have to fill in the details highlighted in red. The first is the source, this one is important to get right, if we don’t, we’ll end up deploying the wrong files.

It’s important that when building your Blazor app that you don’t have the publish step set to zipAfterPublish. In the last post we set this to false, now you can see why. We need to drill down through the published folders to the dist folder. If we’d set zipAfterPublish too true we wouldn’t be able to do this.
Once you’ve selected the dist folder, click OK.
Next, select your Azure subscription. You may also need to authorise your account at this point. If so, you’ll see a blue Authorize button. Just click it and follow the authorisation process.
The destination type needs to be set to Azure blob. The RMStorage Account is the name of the storage account we set up earlier. Finally, the container name should be $web, we saw this earlier when configuring the static site details in Azure storage.
That’s all the configuration done! To finish up you can click on the pipelines name and call it something more meaningful.

Once you’re happy click Save.
Creating a Release
You should now be able to create a release using the new pipeline. The +Release button next to the save button should be enabled, click it and you will see the create a release modal appear.
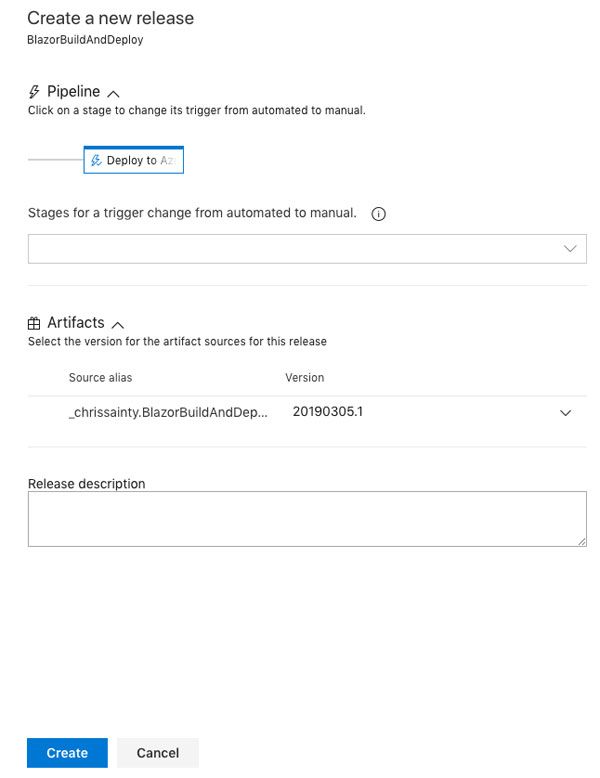
Select the Version, this will be the latest build from your build pipeline. Then click Create.

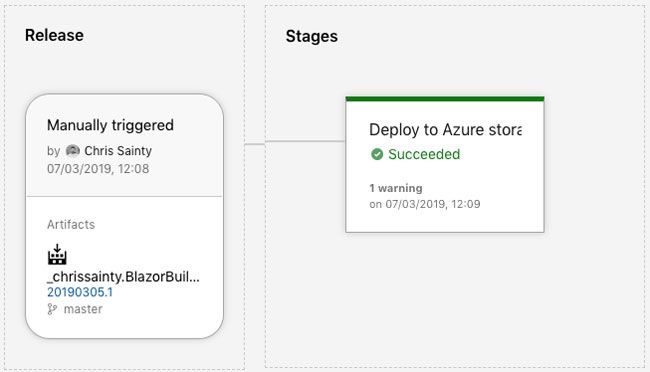
You can click on the link to Release-1 and after a few seconds you should hopefully see a successfully completed release.
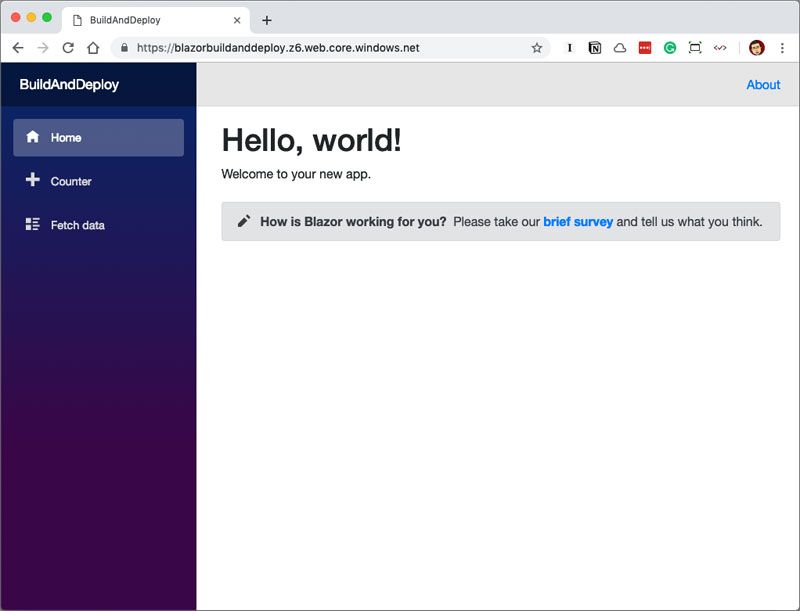
Checking the Site
When we configured the static website settings for Azure storage earlier we were assigned two URLs. You can use either of them to test that the site is working. If all has gone to plan you should see your app running.
Summary
In this post, I showed how you can take a Blazor application built with Azure pipelines, create a release pipeline for it and then deploy it to Azure storage as a static website.
We’ve really only scrapped the surface of what is possible with Azure pipelines. It’s an amazing tool to have at our disposal. And let’s not forget that it’s free as well. If you want to learn more, then head over to the Microsoft Docs site. They have loads of great information to check out.
