

This is the first of two posts on building and deploying Blazor apps using Azure Pipelines. In this first post, I’m going to show you how you can use Azure Pipelines to build your Blazor applications. In the second post, I will show you how to take your built application and deploy it to Azure Storage using release pipelines.
I would like to point out that the steps in this first post will also work for server-side Blazor applications.
What is Azure Pipelines
Azure Pipelines is part of the Azure DevOps services, formally known as Visual Studio Online and previous to that, Visual Studio Team Services. It’s a Continuous Integration (CI)/Continuous Deployment (CD) service which allows developers to build, test and deploy their code anywhere.
I’m going to presume you already have a blazor app you want to build and the code is hosted on GitHub. Don’t worry if you don’t use GitHub however, pipelines can integrate with many source control systems. You might just have to Google the specifics to connect yours.
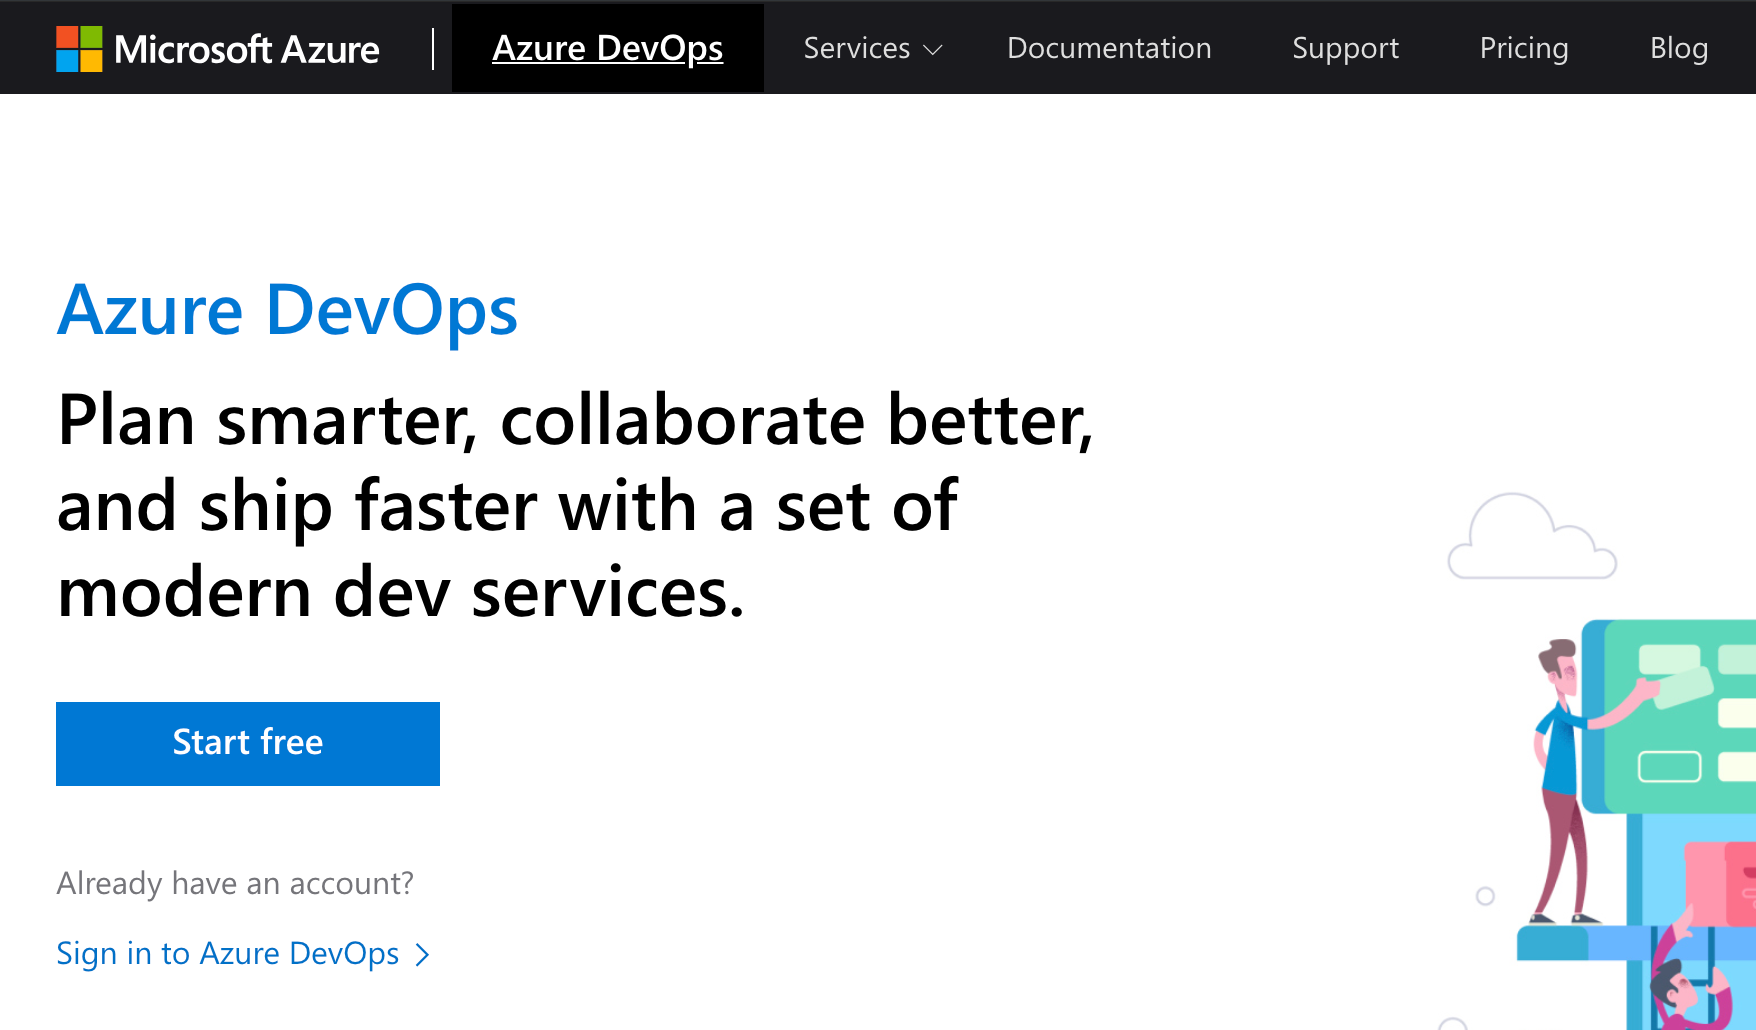
Creating an Azure DevOps Account
If you don’t already have one, you will need to head over to devops.azure.com and create yourself a free account by clicking the “Start free” button.
You can either use an existing Microsoft account to signup or you can create a new one. Just follow the steps and you will end up at the Azure DevOps dashboard.
Installing the Azure Pipelines app
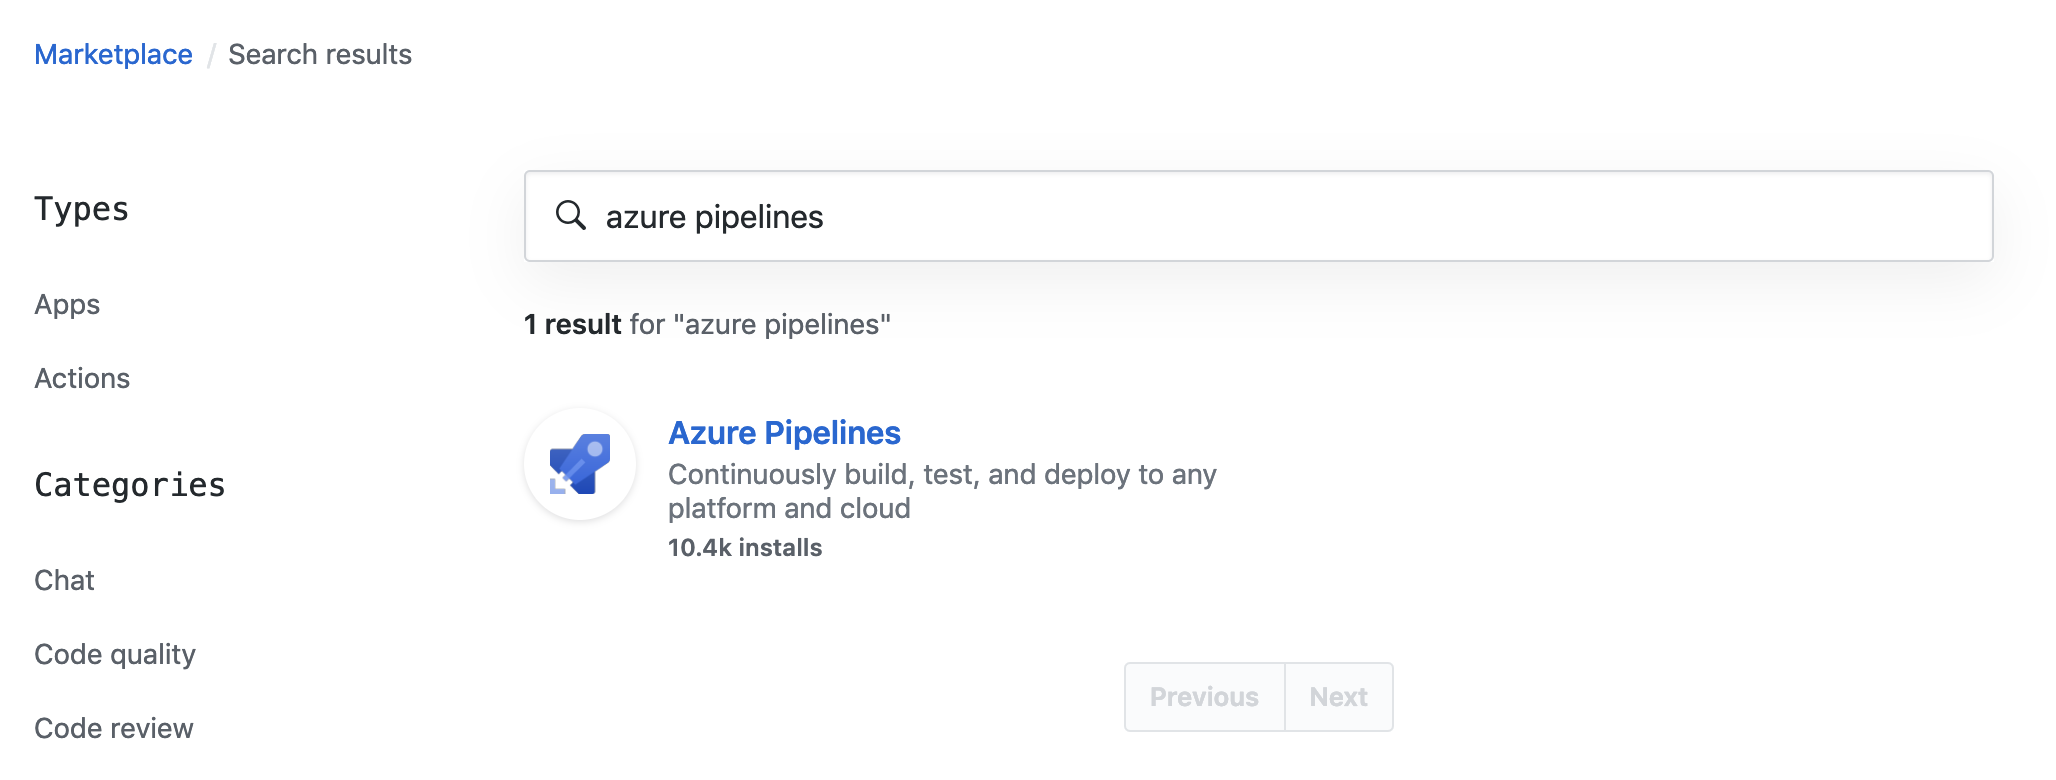
The easiest way to connect your GitHub repo to your Azure Pipelines account is use the Azure pipelines app. If you head back to GitHub and go to the Marketplace, then search for “azure pipelines”.
Select the Azure Pipelines app, you may see a slightly different screen to me as I already use Azure Pipelines for the Blazored repos. But you should see a button with either “Set up a plan” or “Set up a new plan” click that.
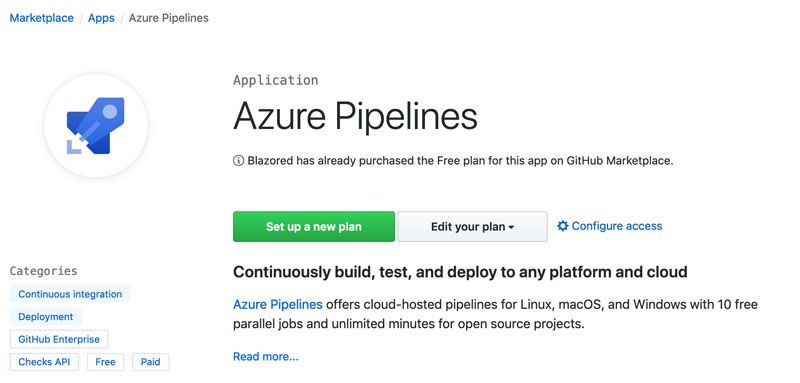
You will then see pricing and setup options.
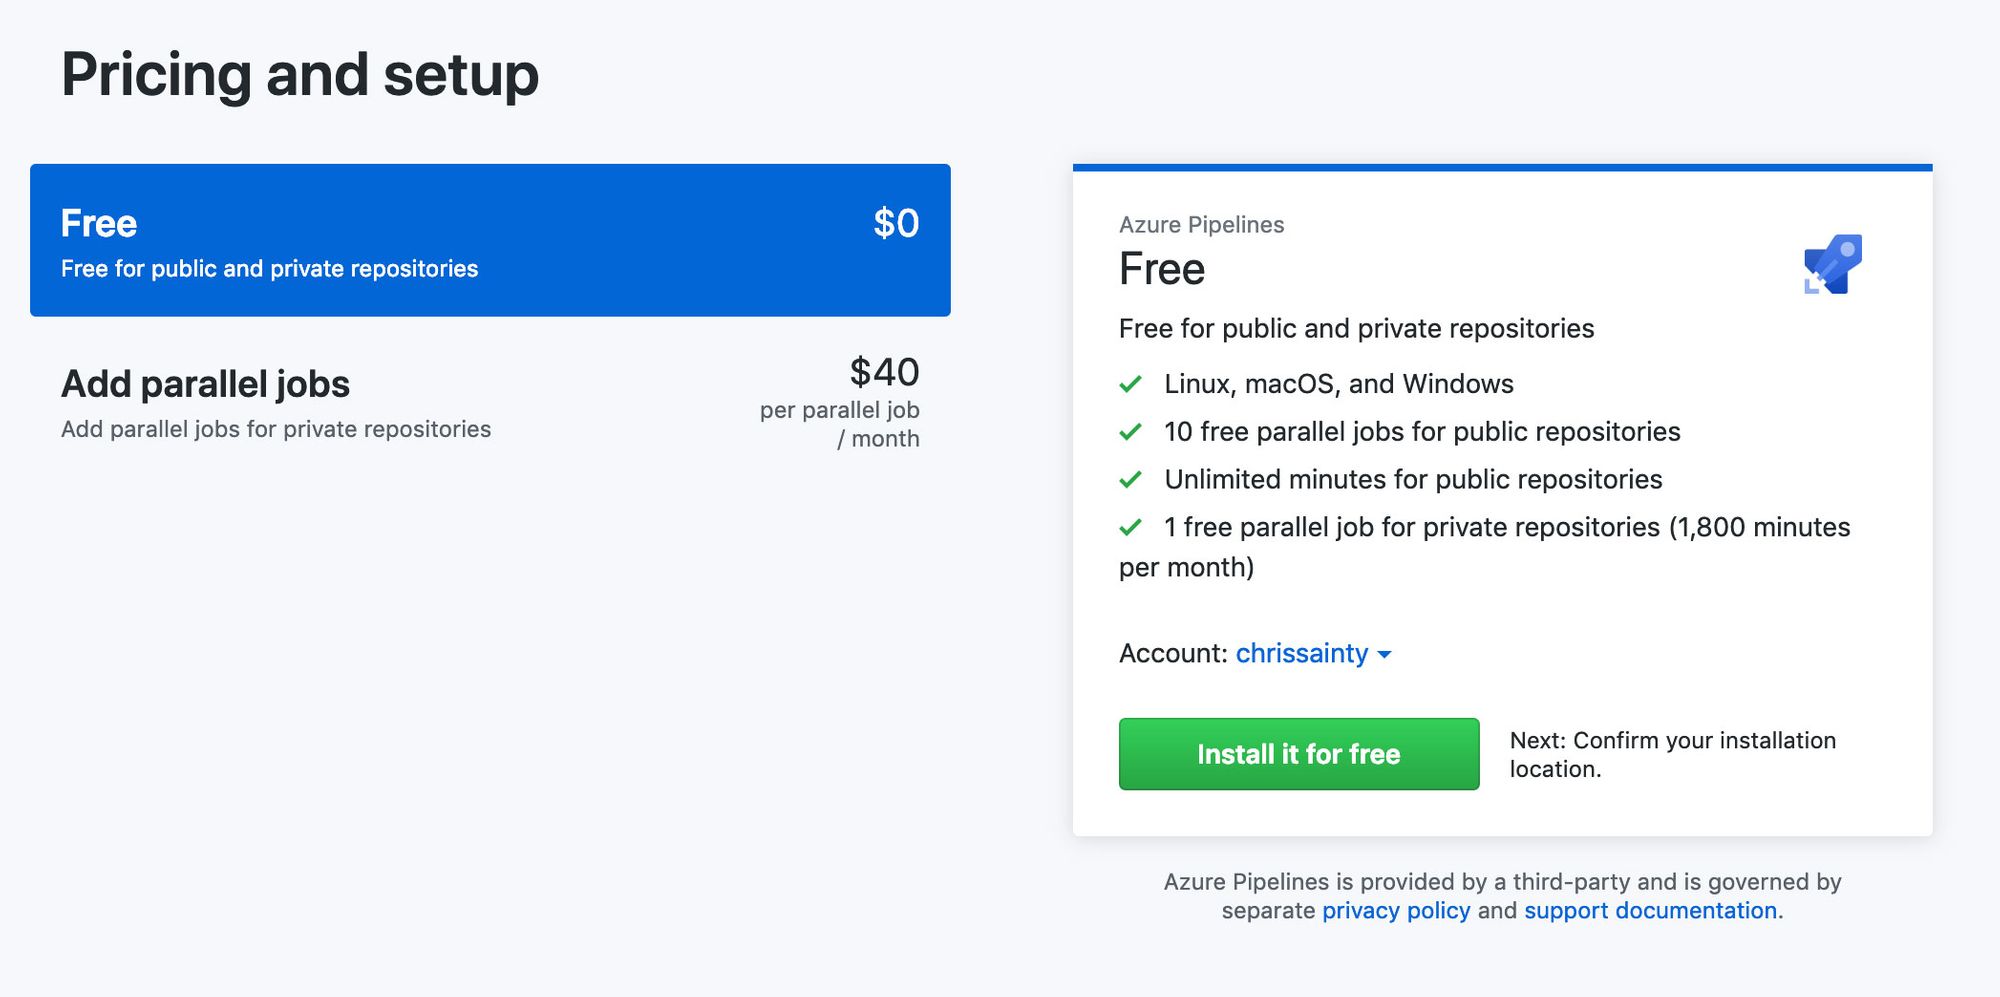
Click “Install it for free”, you will then see a summary of you order.
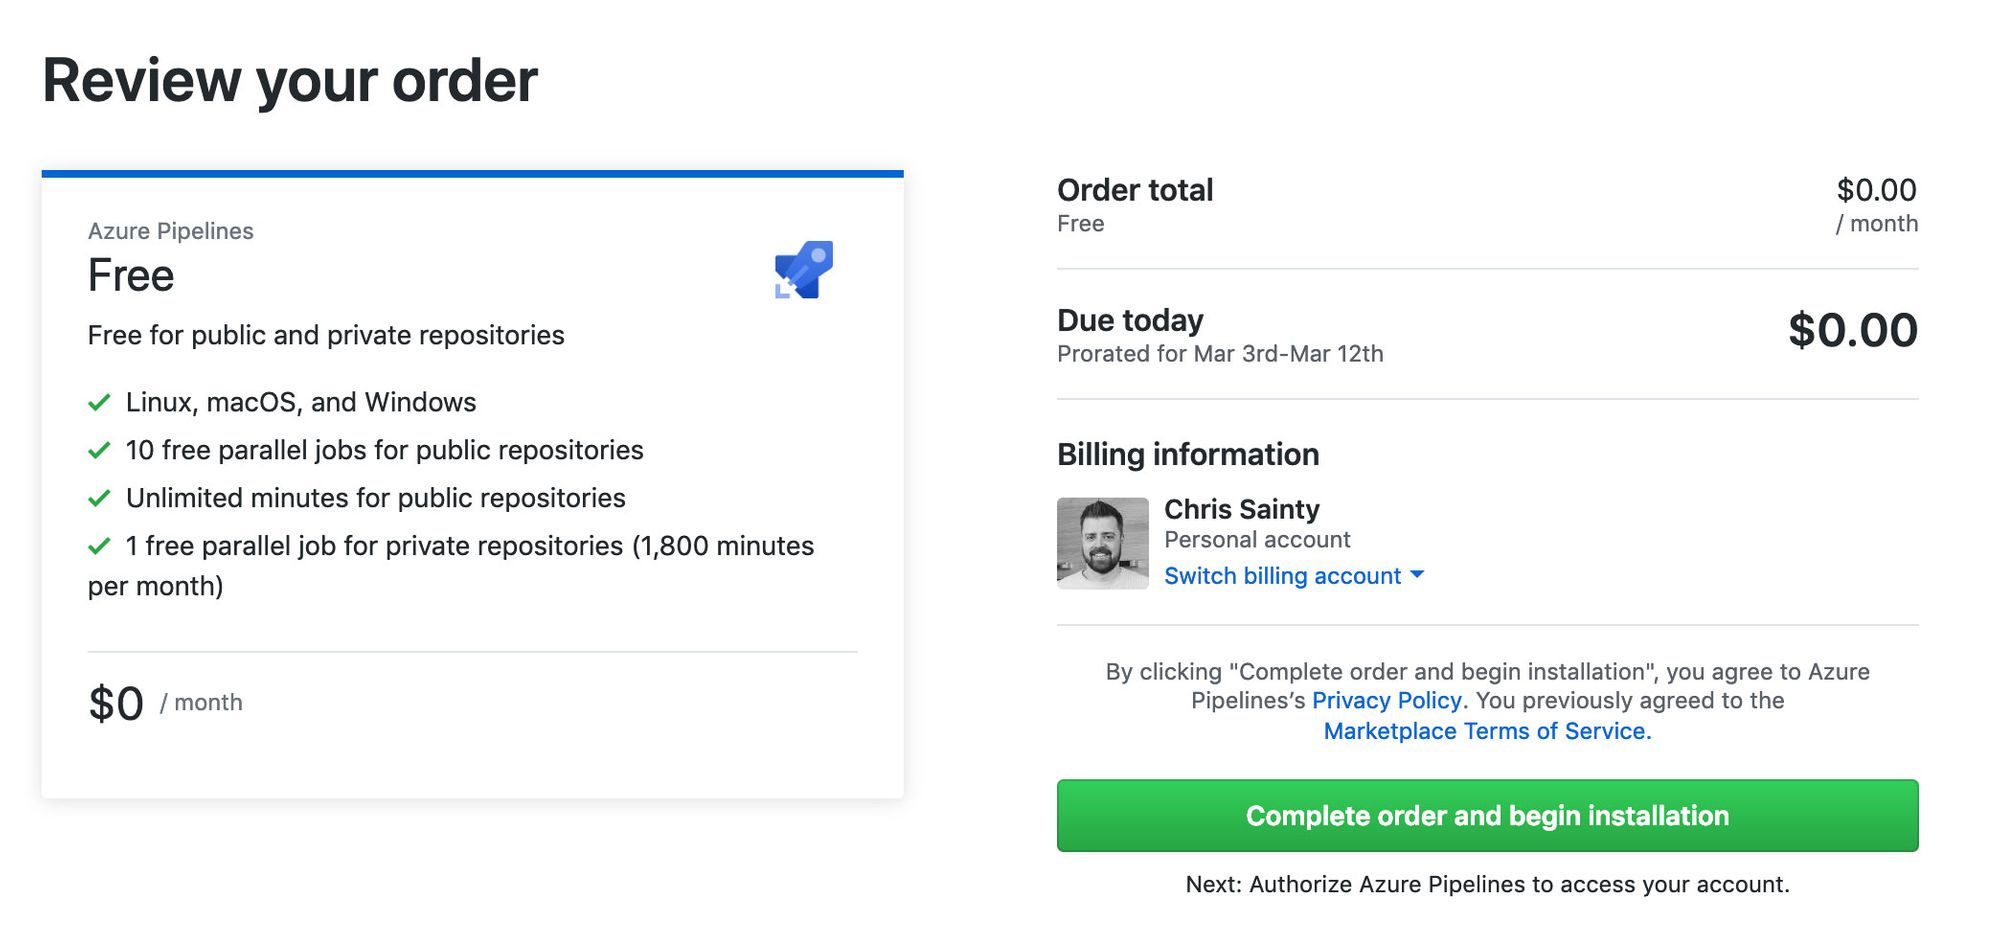
Click “Complete order and begin installation” you will then be asked if you want to install the app to all your repos, or a specific one.
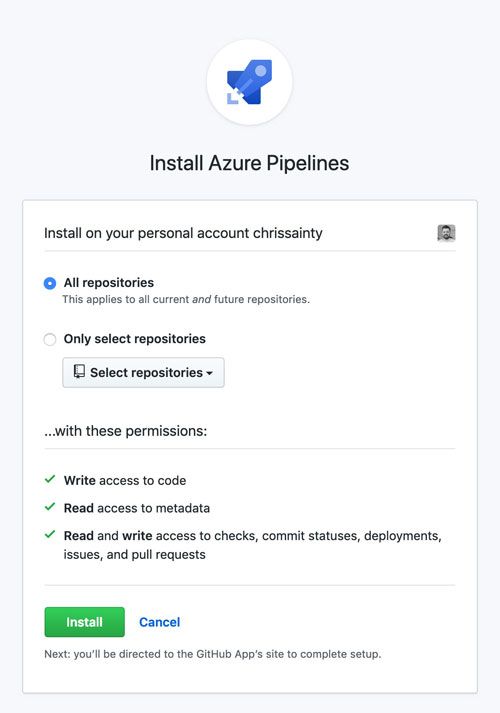
I would suggest installing to all repositories unless you have repos using other CI offerings. Click “Install” and you will be redirected to your Azure DevOps account.
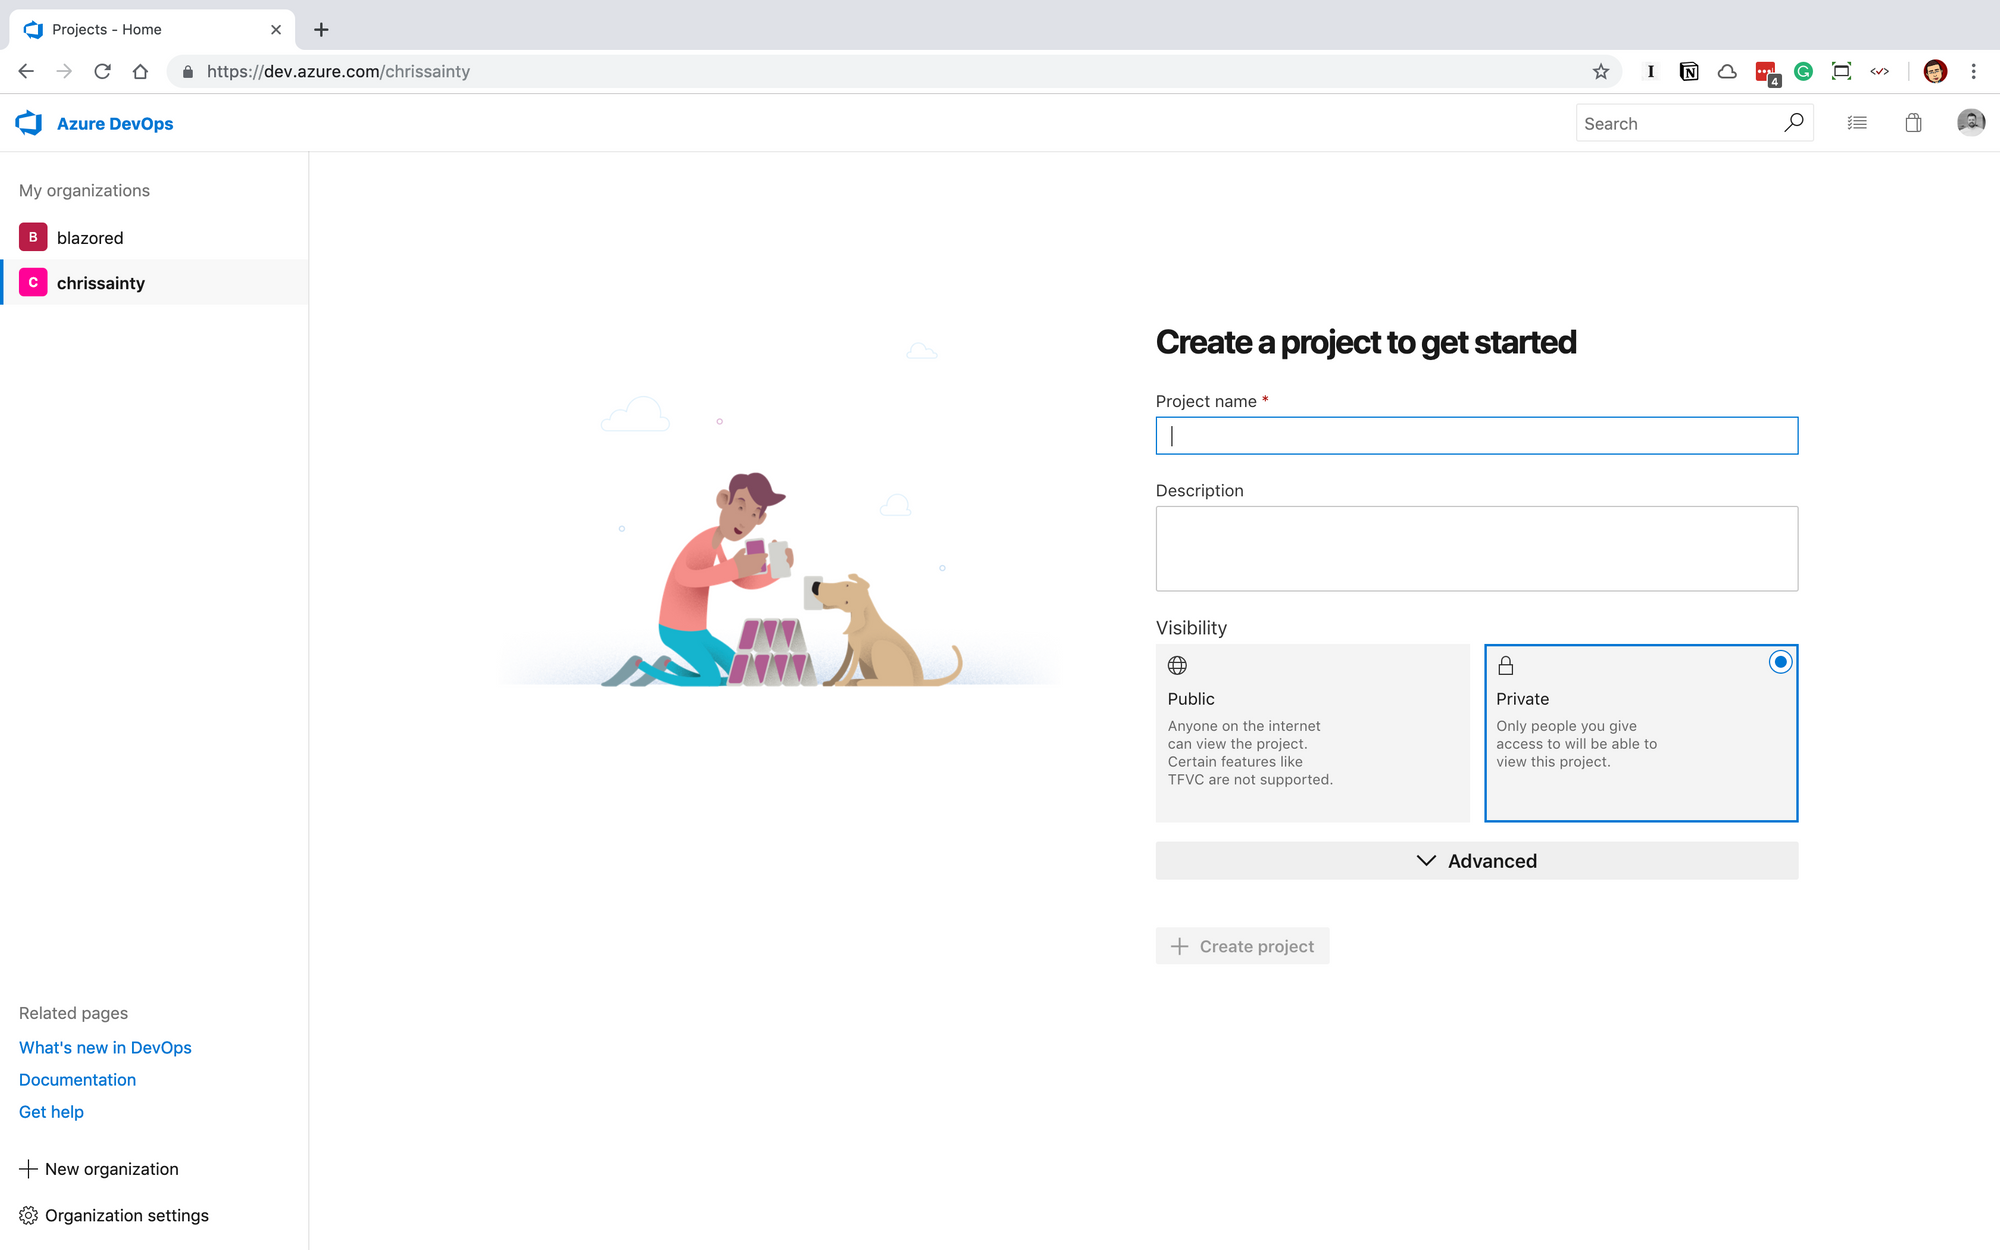
Creating an Azure DevOps Project
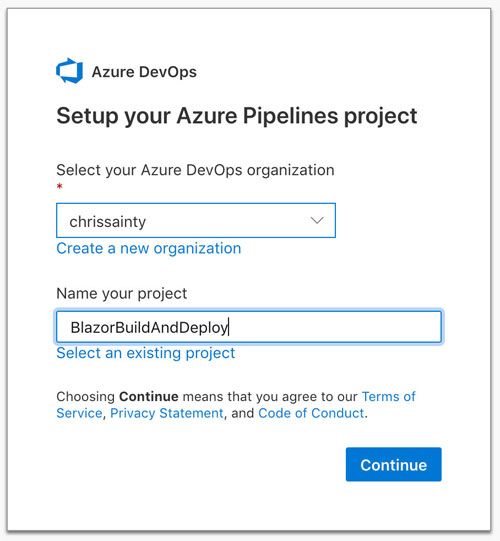
You now need to create a project. Azure DevOps uses projects as a way of organising work. You could have a single project that stores all of your build pipelines for multiple repos, or you can create a project for each repository. I use the second option, which I believe is what Microsoft recommends.
Click “Create Project”, give it a name, then click “Continue”.
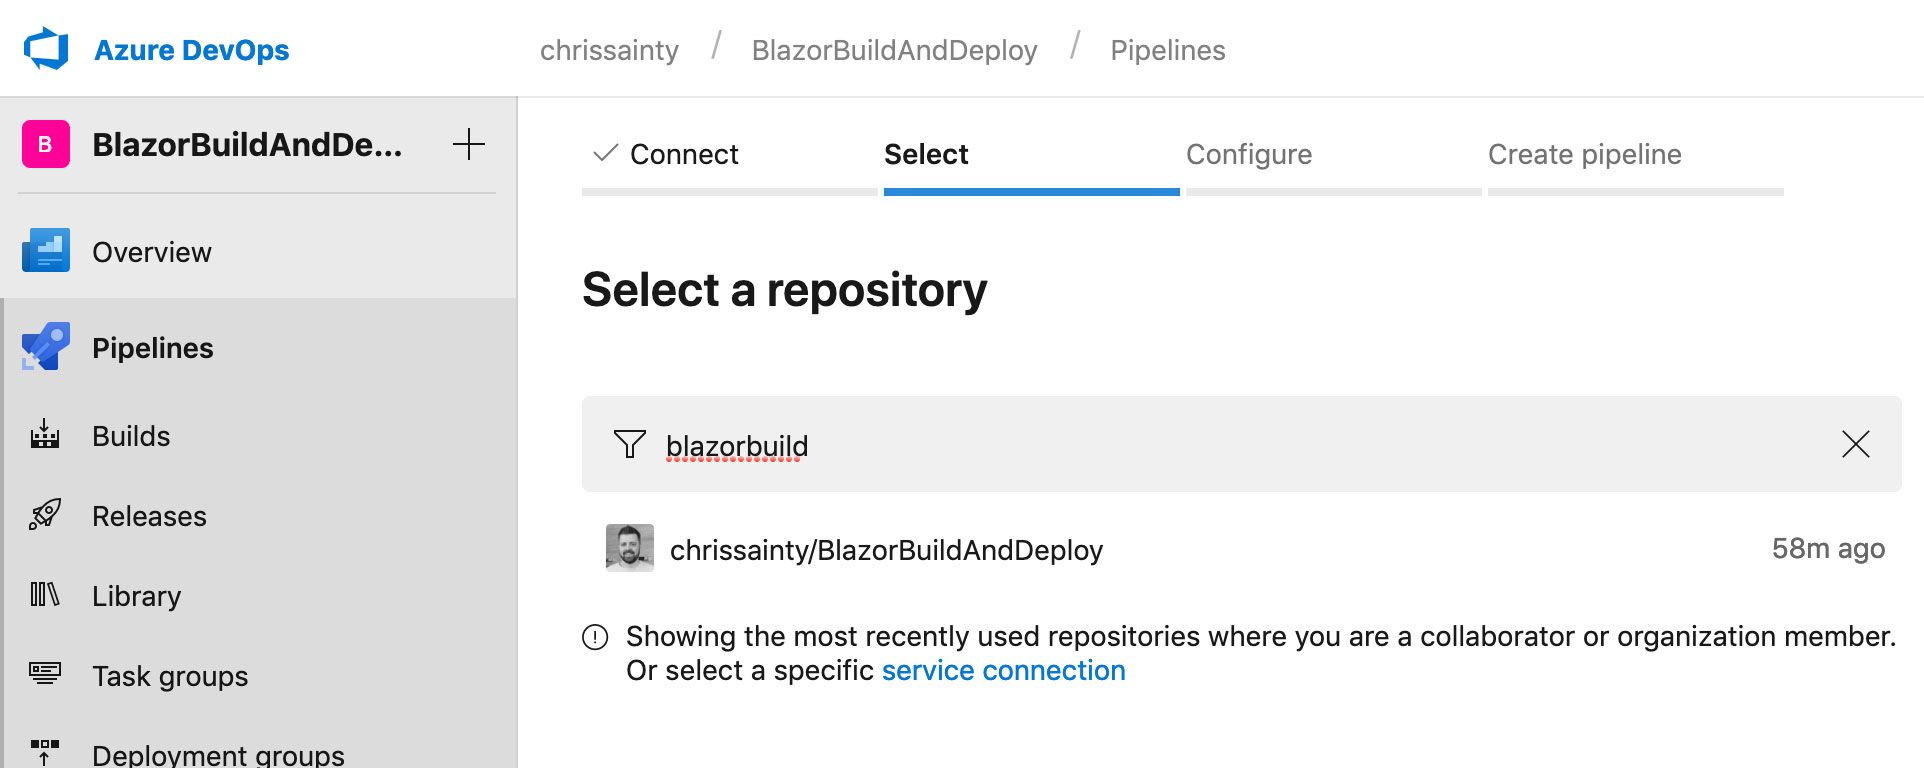
We’re now asked to select which repo we want to build code from. Select your repo and Azure Pipelines will then inspect the code and give you a few options of how to configure your build pipeline.
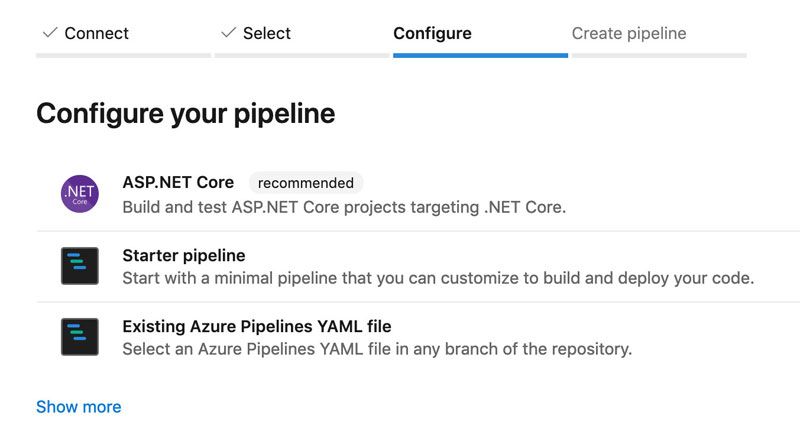
If it’s not the recommended option then select ASP.NET Core but pipelines is pretty decent at getting this right.
Configuring The Build
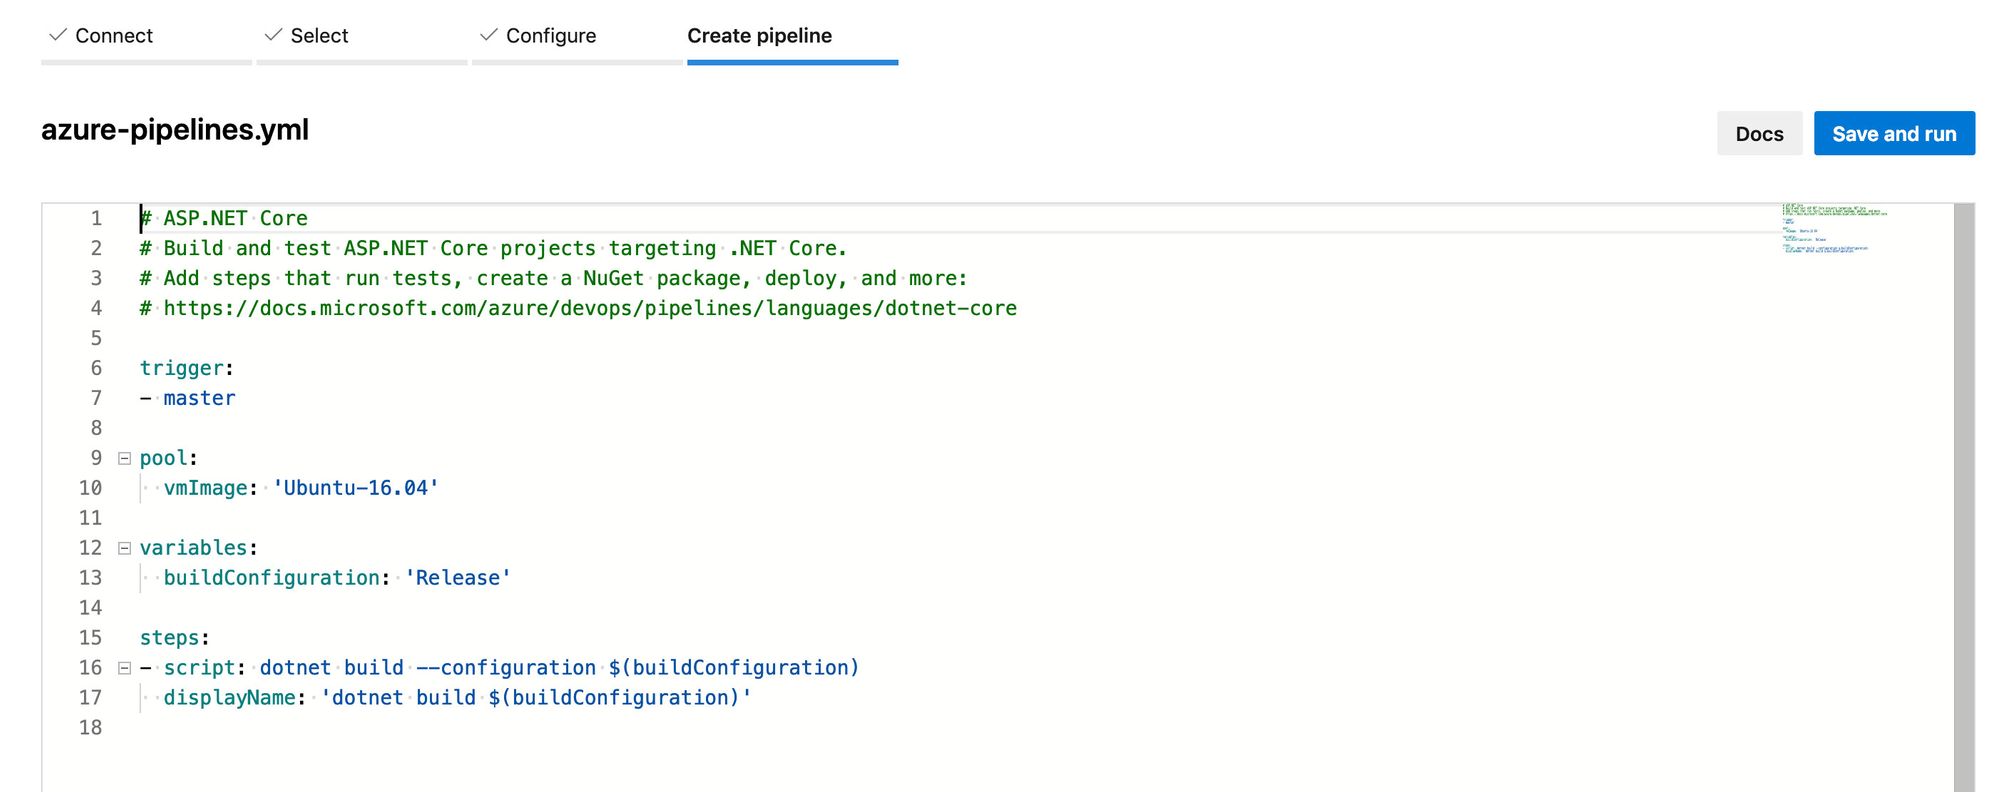
You should now be looking at your azure-pipelines.yml file. This is file we are going to use to configure how our Blazor application is built. If you’ve never heard of a YAML file before then it stands for Yet Another Markup Language.
It is going to allow us to define our build configuration as code. The big advantage of this approach is the YAML will get checked into our repo and can then be versioned along with our code.
Let’s go over the default settings before we start making any changes.
trigger:
- master

pool:
  vmImage: 'Ubuntu-16.04'

variables:
  buildConfiguration: 'Release'

steps:
- script: dotnet build --configuration $(buildConfiguration)
  displayName: 'dotnet build $(buildConfiguration)'
At the top of the file we have some global settings.
Trigger reference what branch should trigger a build to start. By default, this is set to the master branch. This means any code checked into the master branch on GitHub will trigger a build to start. Also, by default any pull requests raised to master will also trigger a build.
Pool specifies what virtual machine (build agent) should be used to built the application. Azure Pipelines offers hosted agents for Windows, Linux and even MacOS.
Variables is a place you can define variables for the build. By default, there is a single variable buildConfiguration, which is set to Release. If you have any specific build variables you can add them here.
Steps is where the tasks needed to build our application are defined. There are [a lot built in](There are a lot available and you can even create your own.) and you can also create your own. By default, there is a single script task which calls the dotnet CLI to build the application.
One last thing to point out, YAML files are both whitespace and case sensitive. So be careful when editing them.
Configuring the Blazor build
Now we understand what’s been generated by default. There are a few changes we need to make to get our Blazor app building.
First, we need to change the build agent. I’m not sure why but I’ve not been able to get a blazor app to build using the linux agents. I always get an error saying “It was not possible to find any compatible framework version”. But the windows agents seem to work fine so let’s make the change.
pool:
  vmImage: 'vs2017-win2016'
Next, we need to add in a new step, this needs to go before the existing script task.
steps:
- task: DotNetCoreInstaller@0
  displayName: 'Installing .NET Core SDK...'
  inputs:
    version: 3.0.100-preview6-012264
What this task does is install a specific version of the .NET SDK (if you’re getting any issues with building make sure you have updated the SDK version to the latest one). Microsoft keeps all their hosted agents up to date with the latest official SDK but this does not include previews. As the current version of Blazor can only be built against the latest .NET Core 3 preview we have to install it ourselves.
The next change is to the existing build task.
- script: dotnet build --configuration $(buildConfiguration) BuildAndDeploy/BuildAndDeploy.csproj
  displayName: 'Building $(buildConfiguration)...'
In my repo the .csproj file is in a directory called BuildAndDeploy. I need to alter the CLI command so it knows where to find it. You will need to alter this according to your applications structure.
Note: If you’re building a server-side Blazor application you will need to specify the
.csprojfile for the.serverproject.
Finally, we need to add in two new tasks.
- task: DotNetCoreCLI@2
  displayName: 'Publishing App...'
  inputs:
    command: publish
    publishWebProjects: true
    arguments: '--configuration $(BuildConfiguration) --output $(Build.ArtifactStagingDirectory)'
    zipAfterPublish: false

- task: PublishBuildArtifacts@1
  displayName: 'Publishing Build Artifacts...'
The first is a .NET Core CLI task calling the publish command. This will publish the app and output the result to the $(Build.ArtifactsStagingDirectory). This is just a predefined folder location on the build agent and is provided automatically by Azure pipelines.
The second is a publish build artifacts task which publishes the result of the previous task, the build artifacts. It makes them available for download or to use in subsequent parts of a CI/CD pipeline. We’ll be using these in the next post.
Running the build
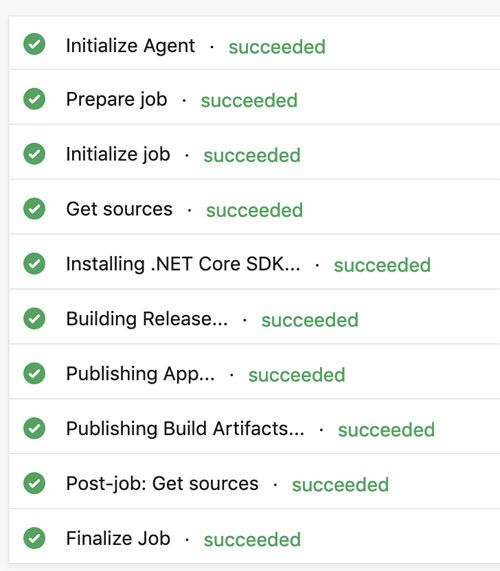
We now have our YAML file set up and ready to go. Click the ‘Save and Run’ button, this will give you the option to add a commit message and to either commit the YAML file to your master branch or to create a new branch. I would suggest going straight to master is probably fine, but the choice is yours.
Once you have committed your YAML file then a new build of your project will be started. If all goes to plan then you should have a successful build.
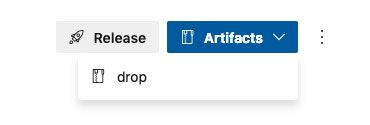
You can then see what’s been built by clicking on the “Artifacts” button in the top left and clicking on “drop”.
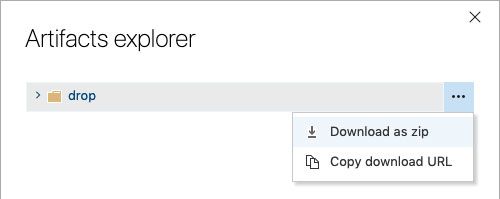
You can also download your built app by clicking “Download as zip” from the artifacts explorer.
Summary
That’s where we’ll leave things for this post. I have shown you how to use GitHub and Azure Pipelines to create an automated CI pipeline for your Blazor applications.
Next time we’ll take the build artifacts we’ve created from our build and use them in a release pipeline to deploy those files to Azure Storage.
As always if you have any questions please leave them in the comments below.
