

Authentication and authorisation are two fundamental functions in most applications today. Until recently, it wasn’t very clear how to best achieve these functions in Blazor applications. But with the release of ASP.NET Core 3 Preview 6 that all changed.
In this post, I’ll show you how you can create a new server-side Blazor application with authentication enabled. Then we’ll take a high level look at the services and components which are used in the application.
What is the difference between authentication and authorisation?
Let’s start with the difference between authentication and authorisation as this can sometimes be a bit confusing for new developers.
Authentication is the process of determining if someone is who they claim to be.
This can be done in many different ways, but the most common for web applications is a username and password check. Another example of authentication is using your pin code with your debit card at a ATM.
Whatever the mechanism, authentication verifies you are who you say you are. But what it doesn’t do is define what you have access to, that is where authorisation comes in.
Authorisation is the process of checking if someone has the rights to access a resource.
Authorisation occurs after an identity has been established via authentication and determins what parts of a system you can access. For example, if you’re have administrator rights on a system you can access everything. But if you’re a standard user, you may only be able to access specific screens.
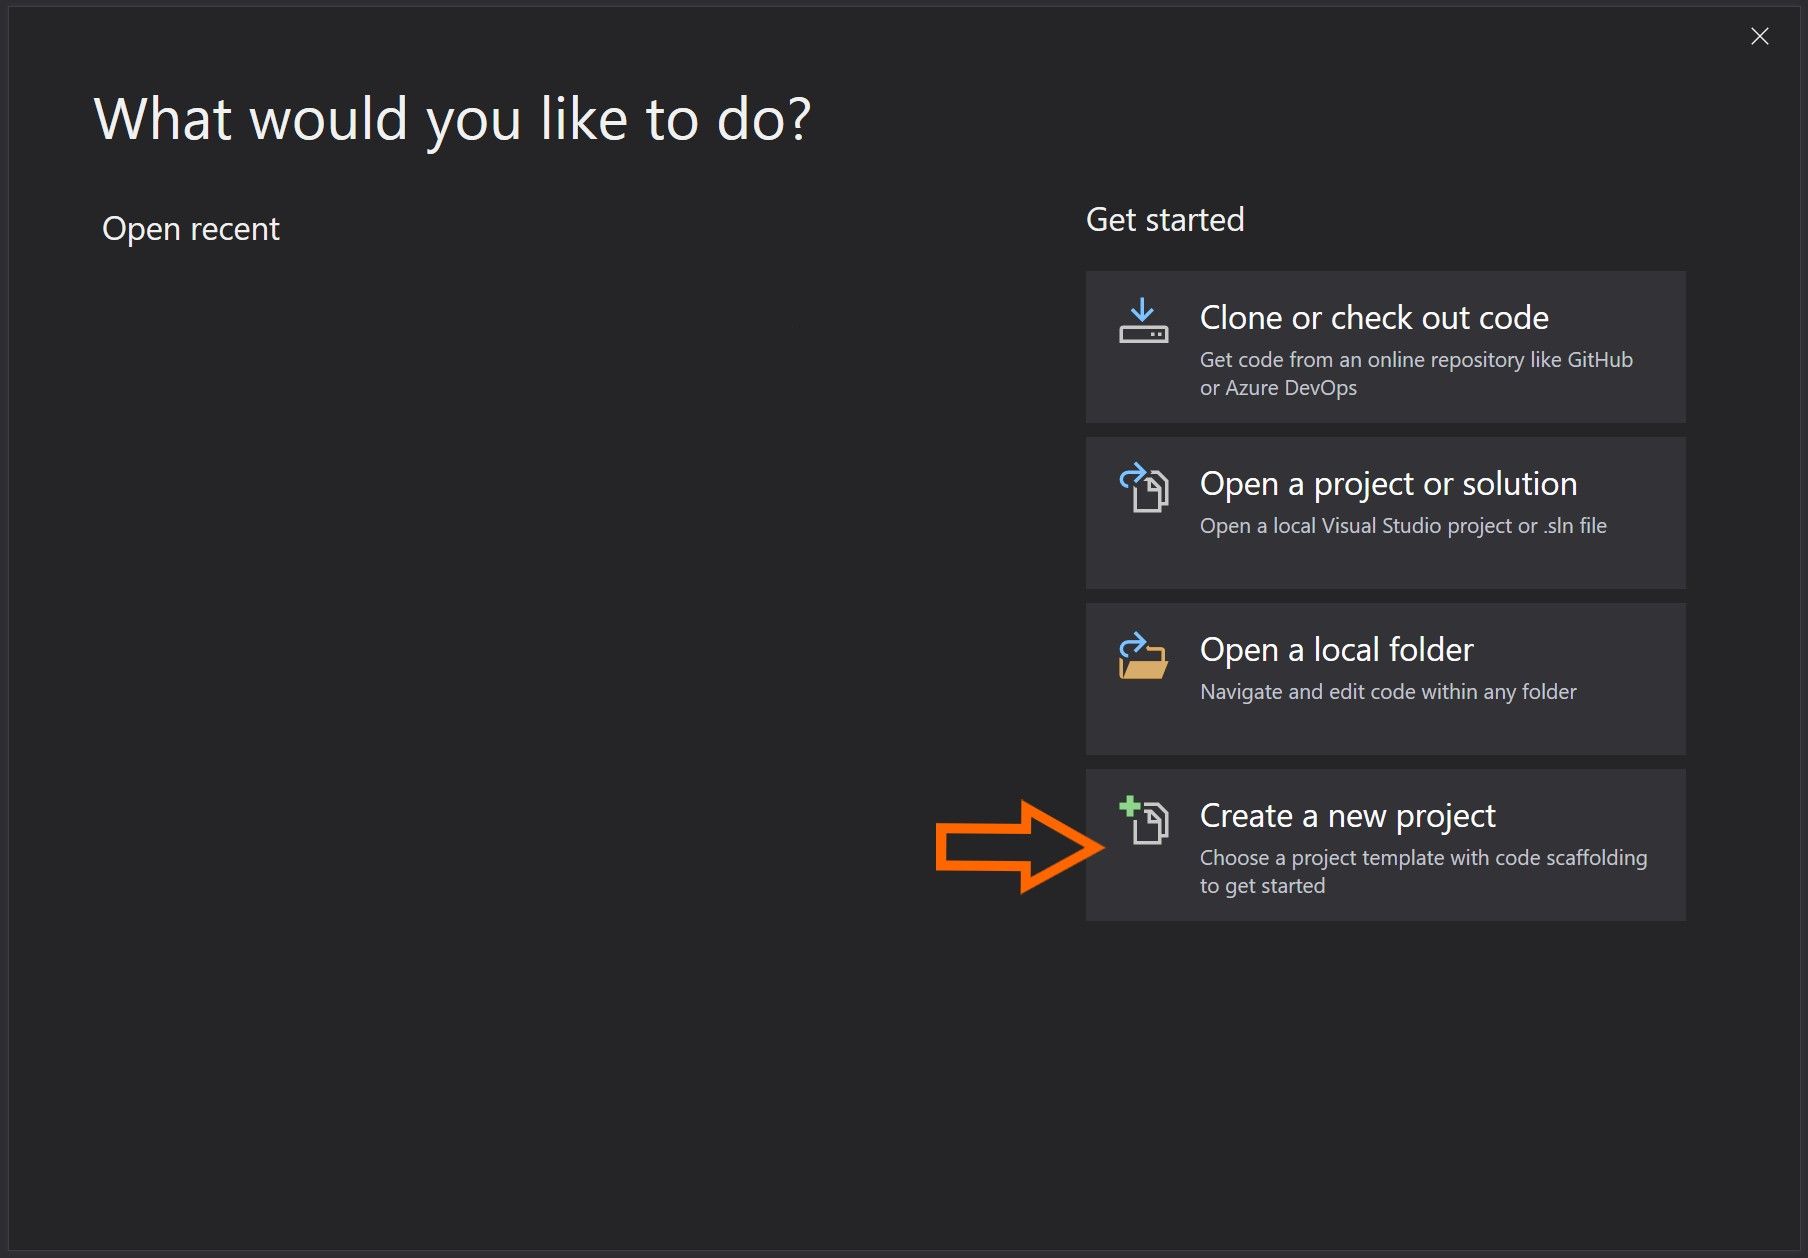
Creating a Blazor application with Authentication
We’ll get stuck in straight away by creating a new Blazor server-side application with authentication enabled.
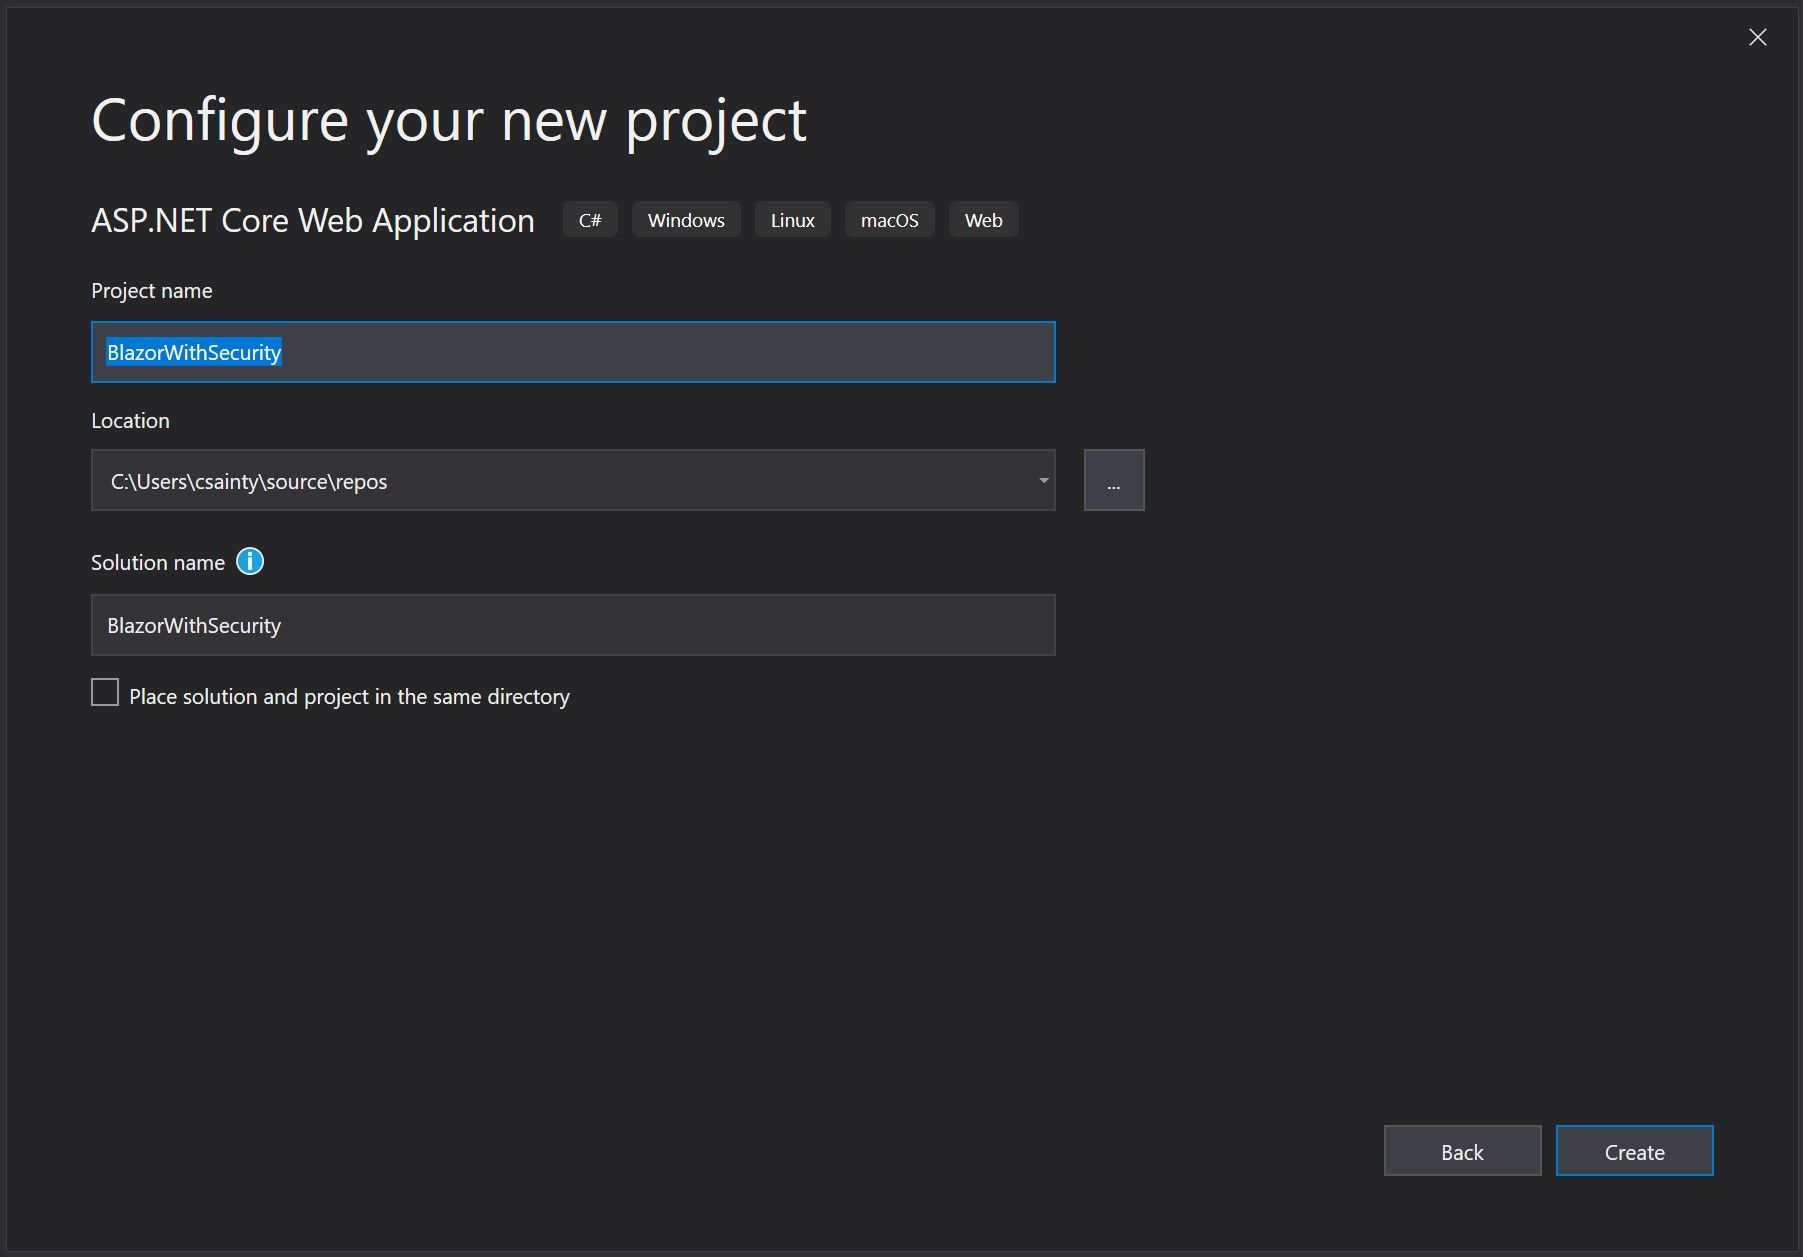
Follow the normal steps for creating a server-side Blazor application.
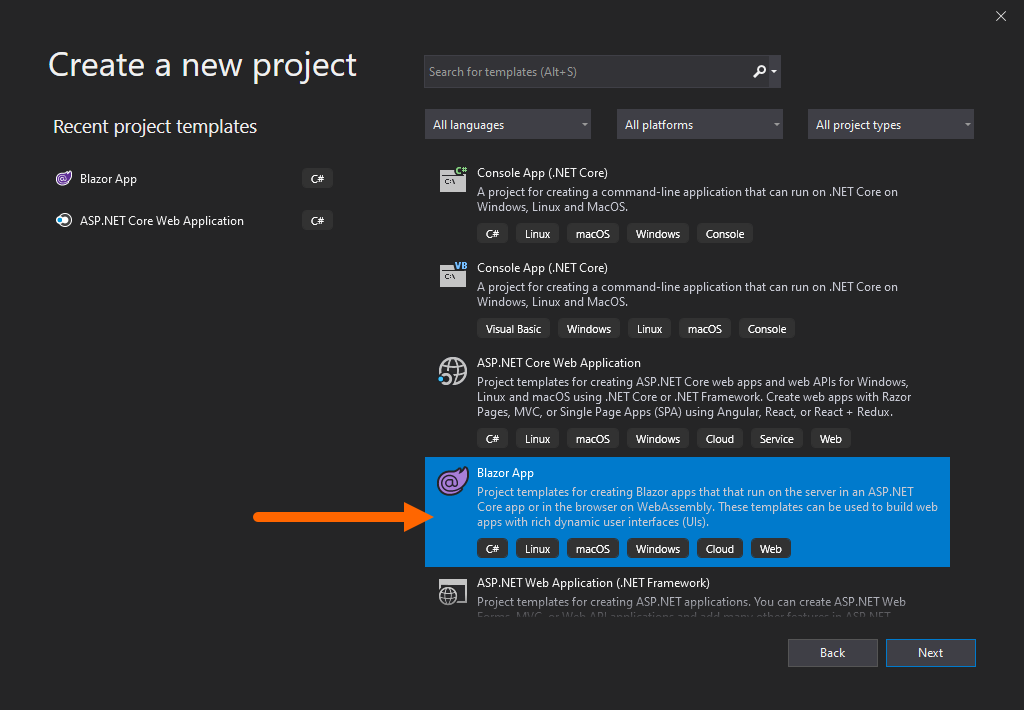
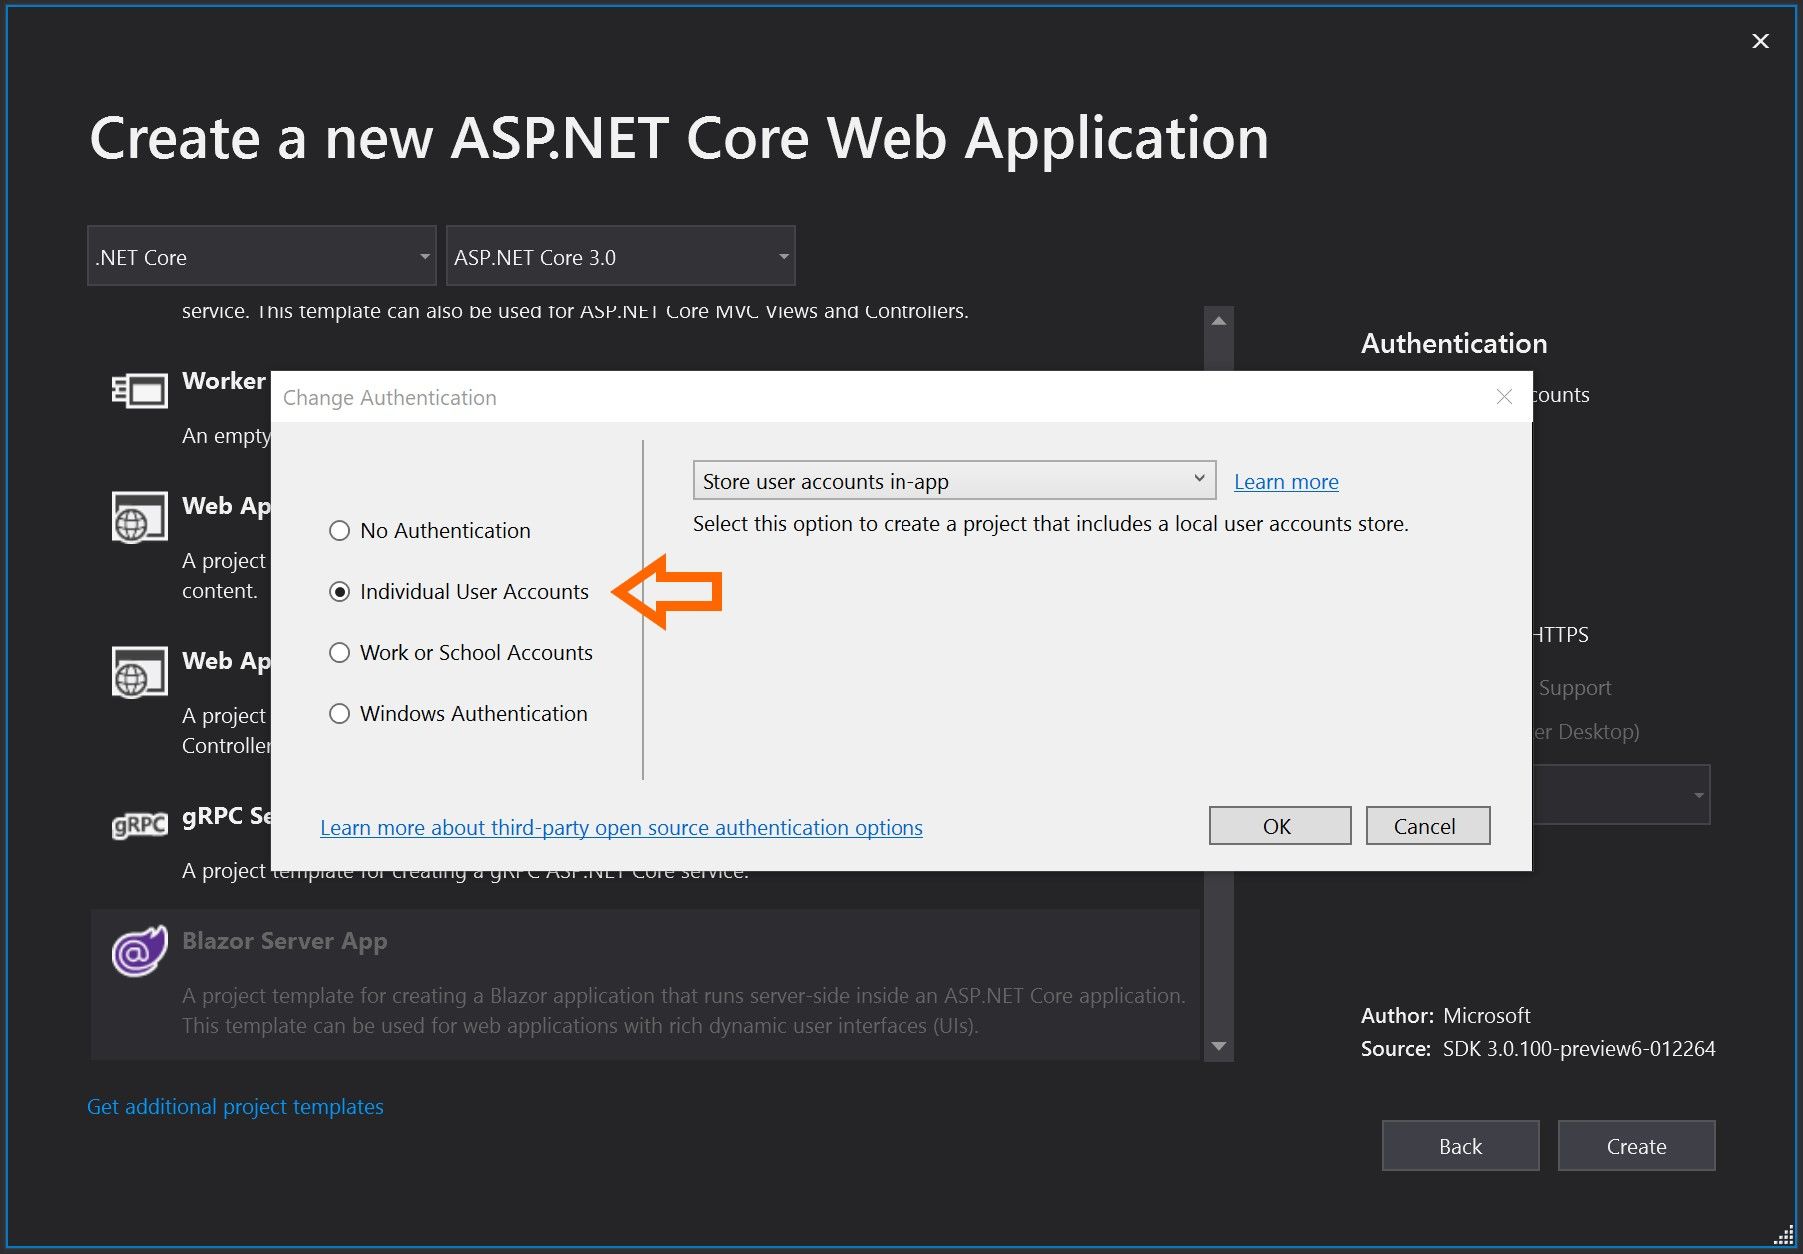
When you hit the project type screen, select Blazor Server App then select the Change link under Authentication.
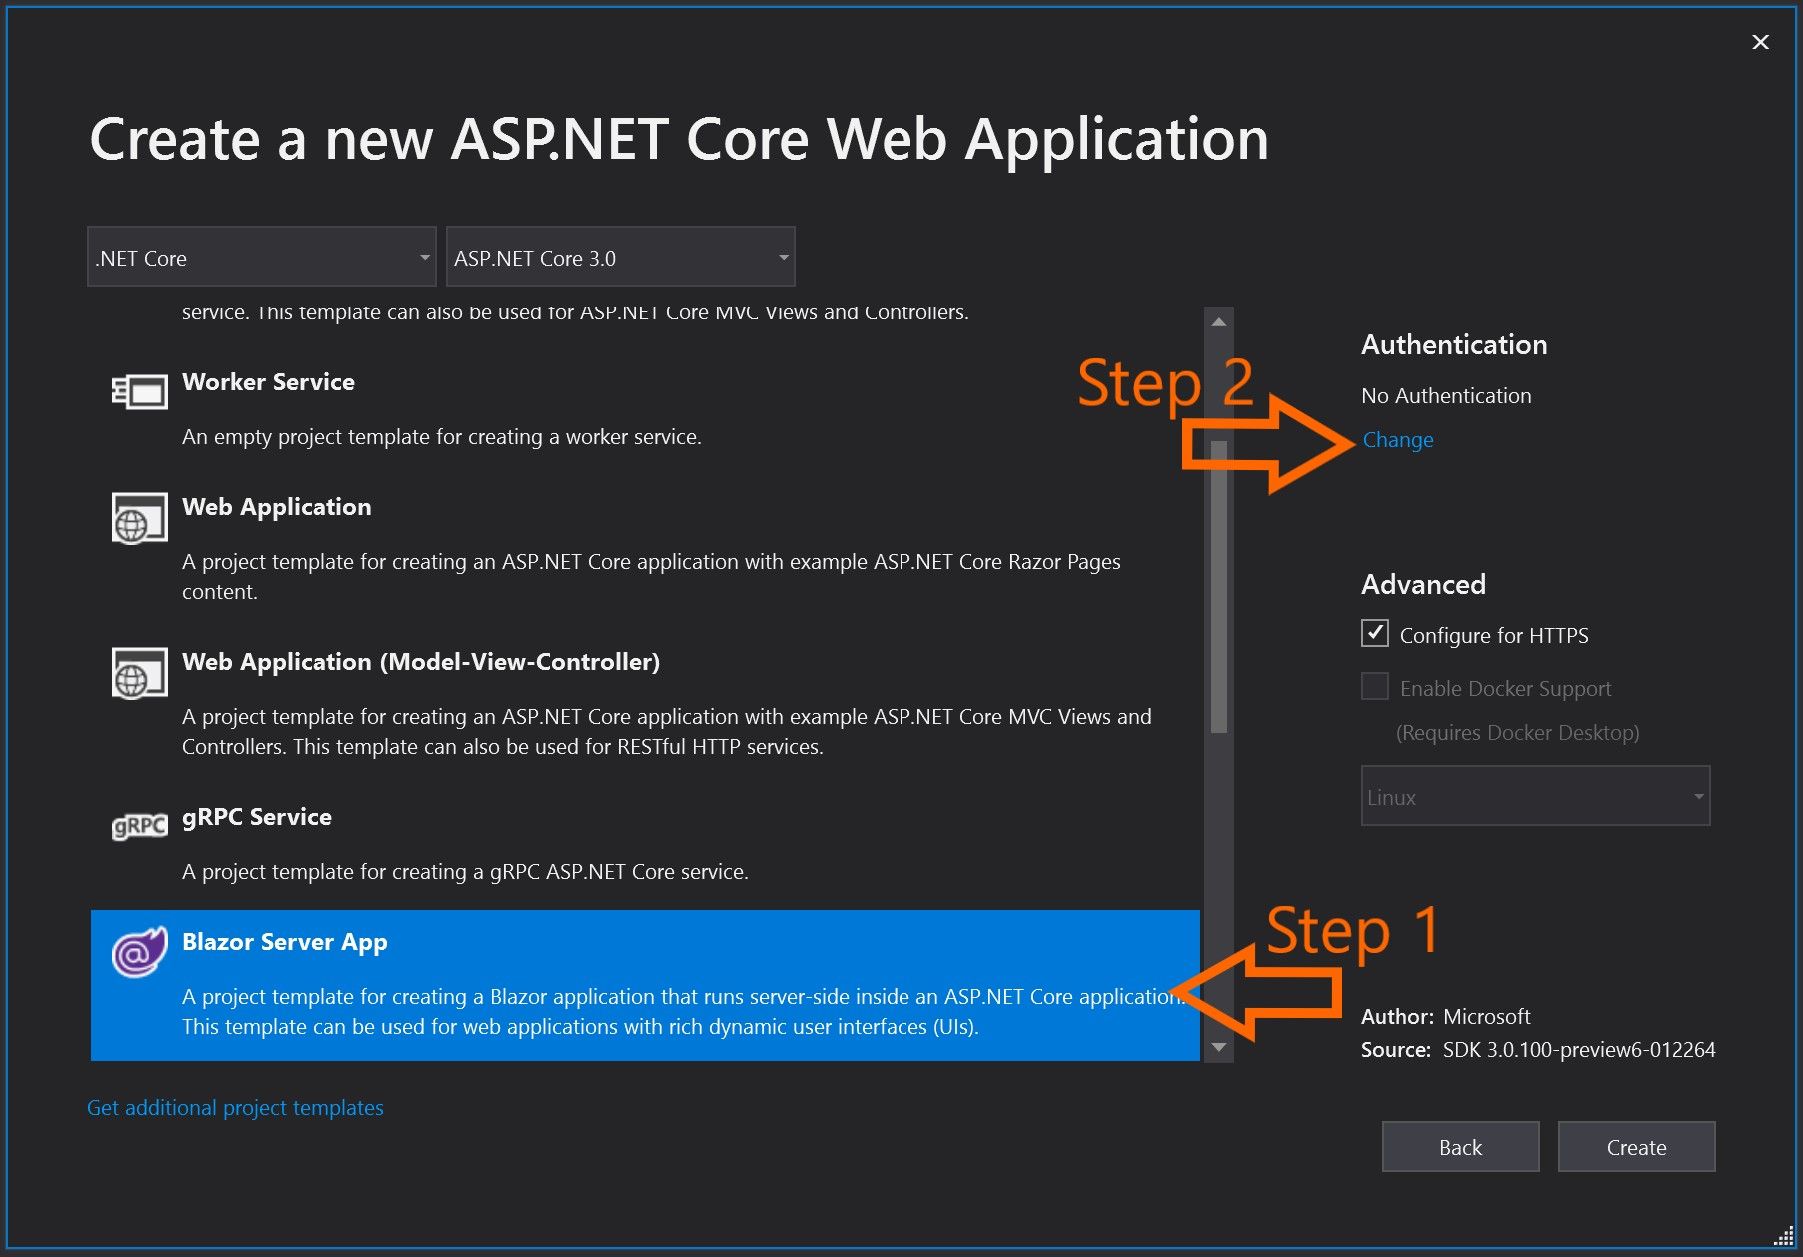
From the popup window select Individual User Accounts and then OK.
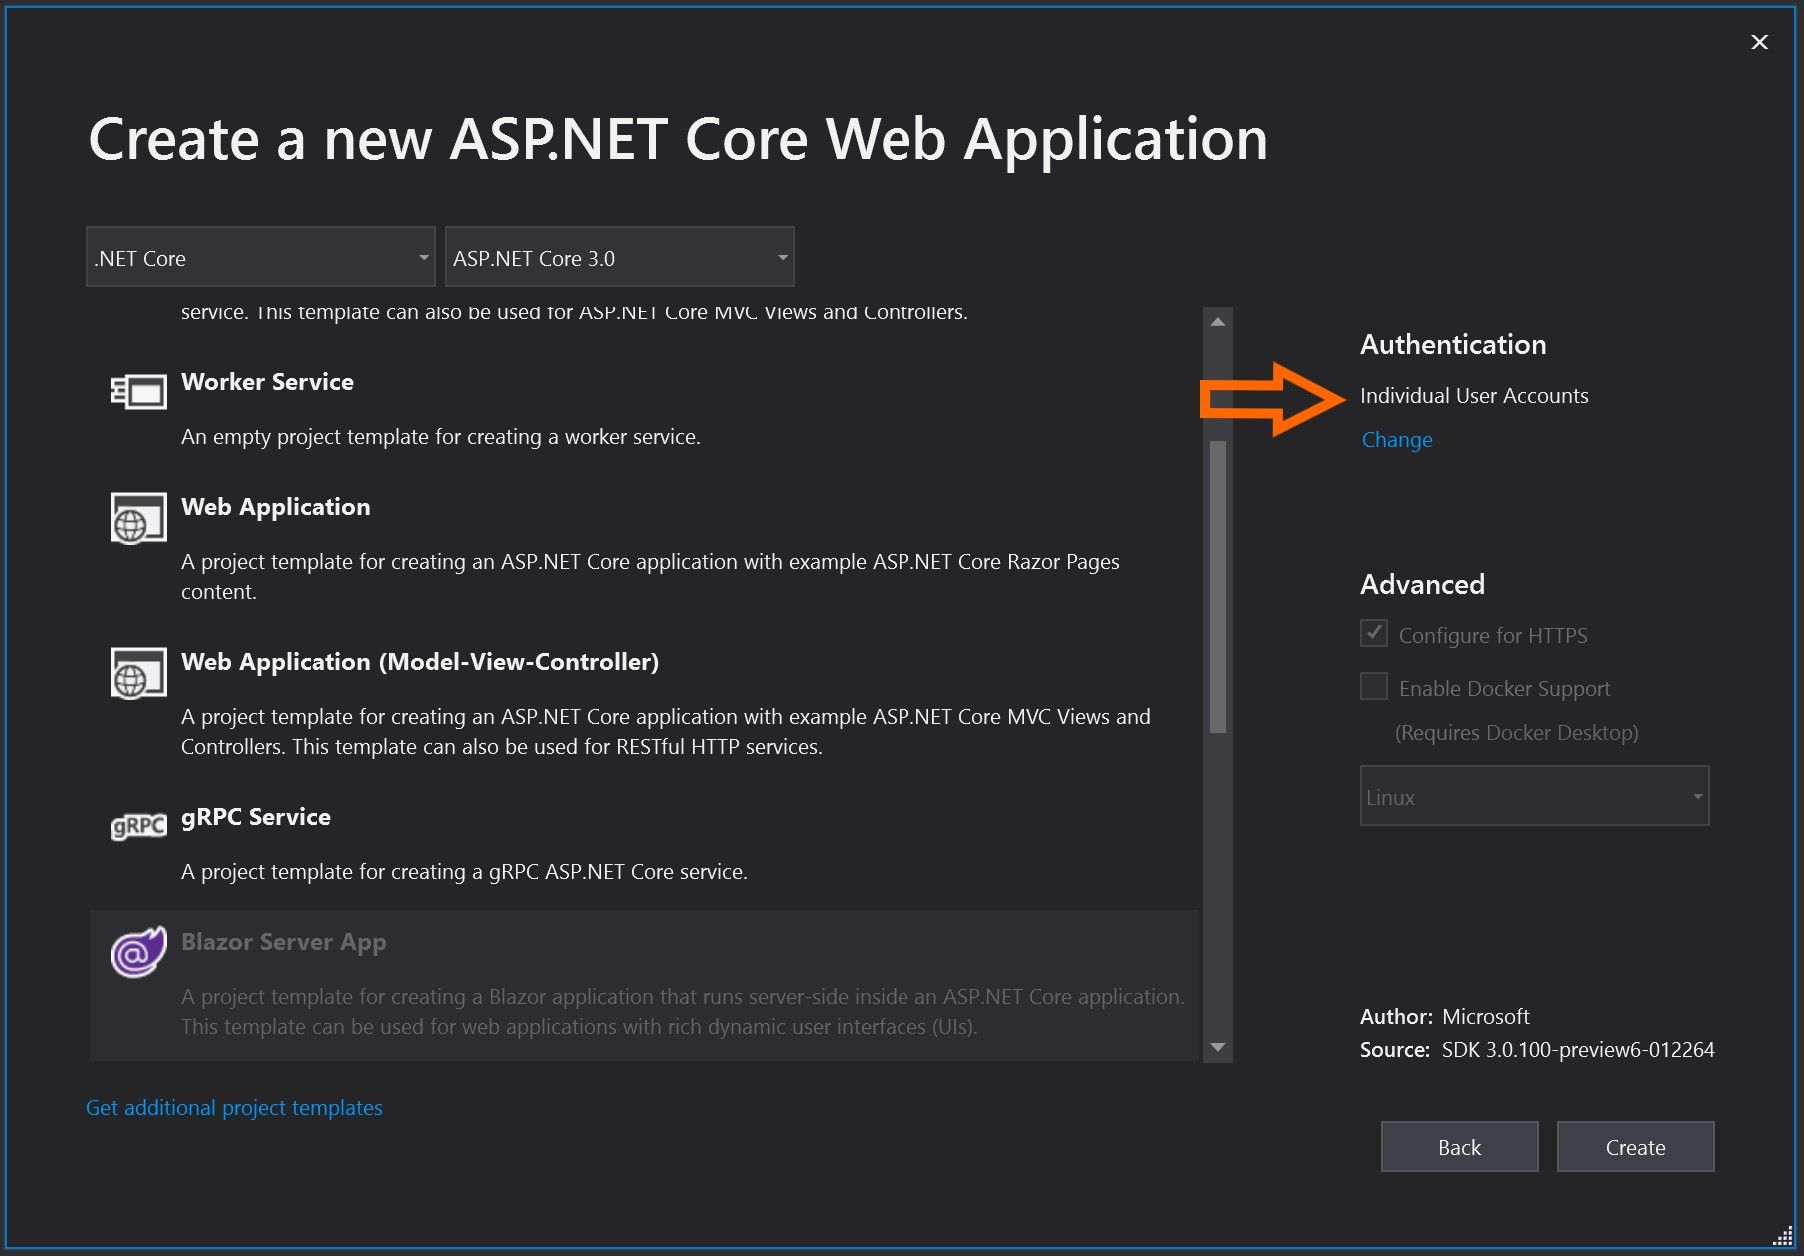
Make sure that Authentication is set to Individual User Accounts then click Create.
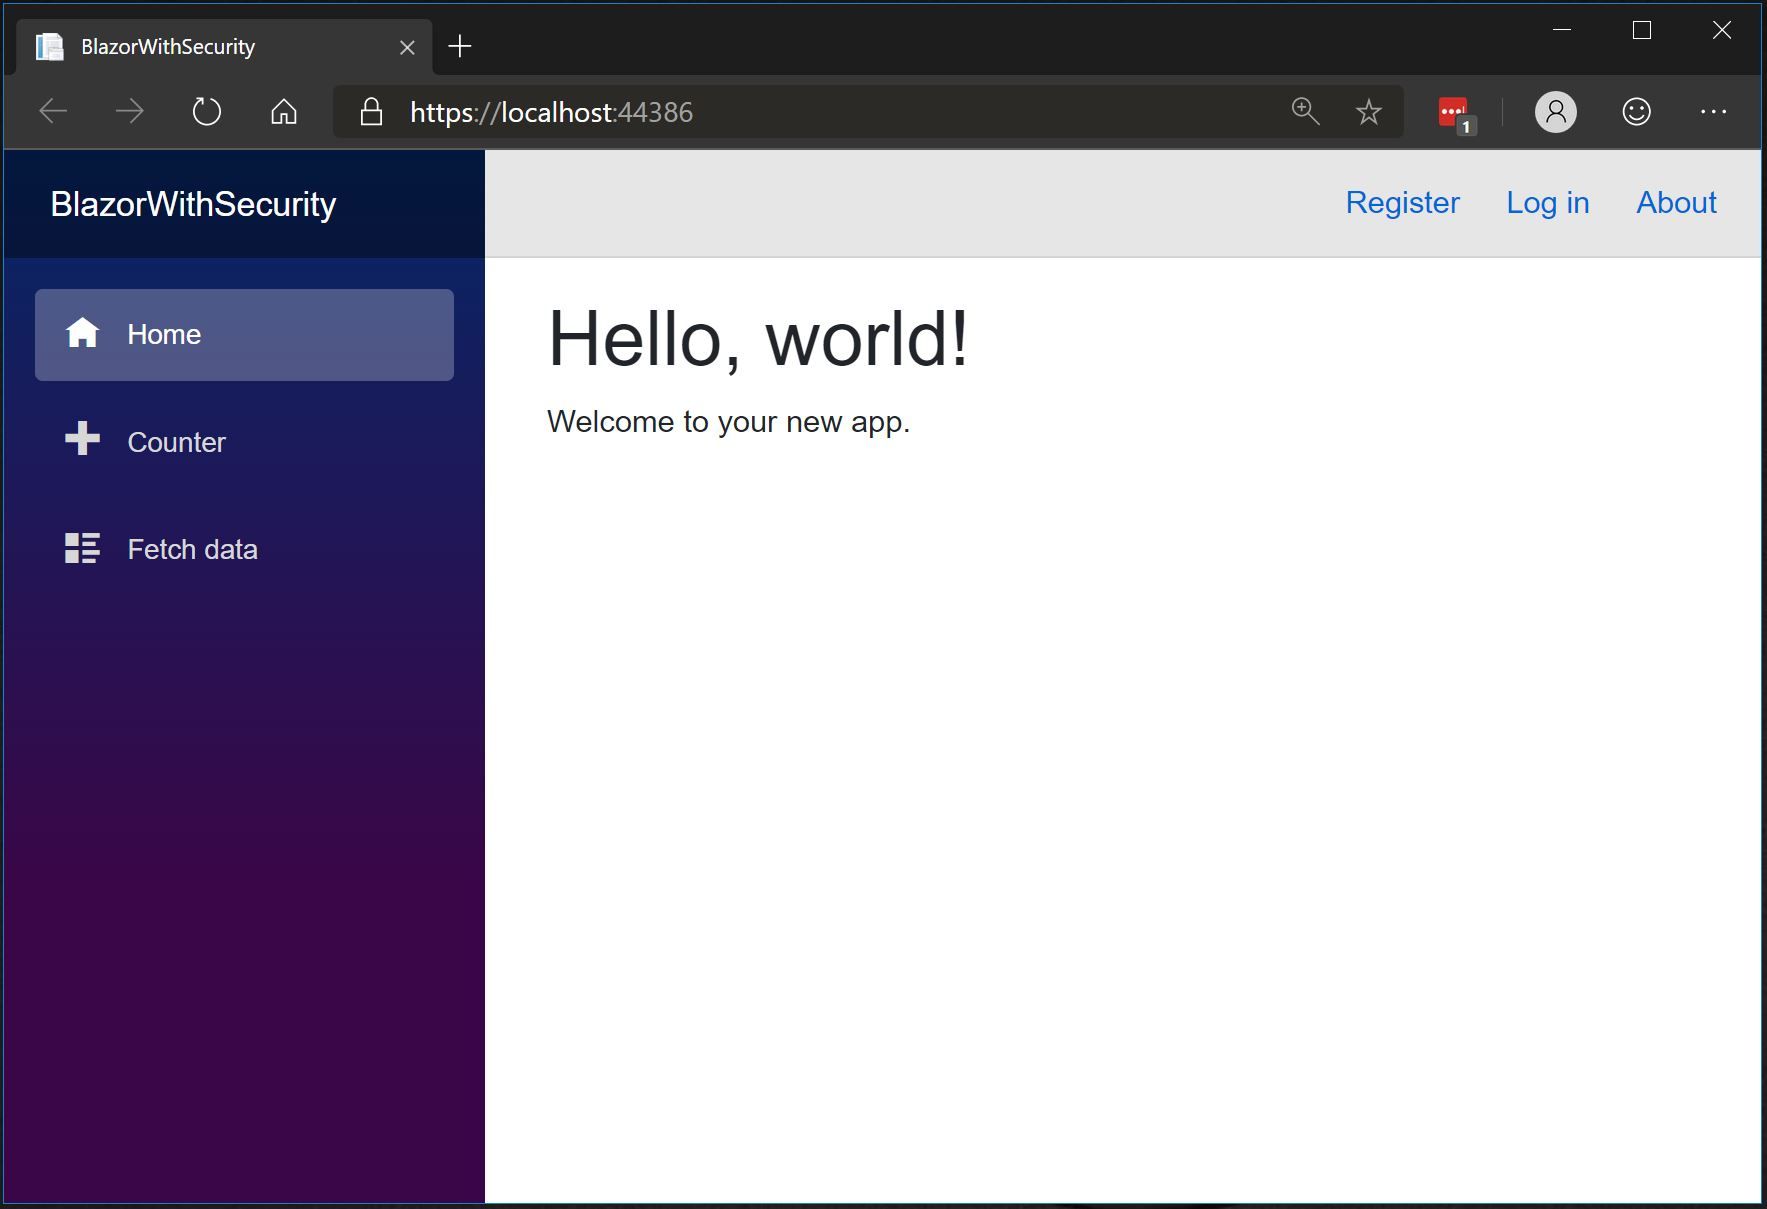
Once the app has been generated press F5 to run it and you should see the following.
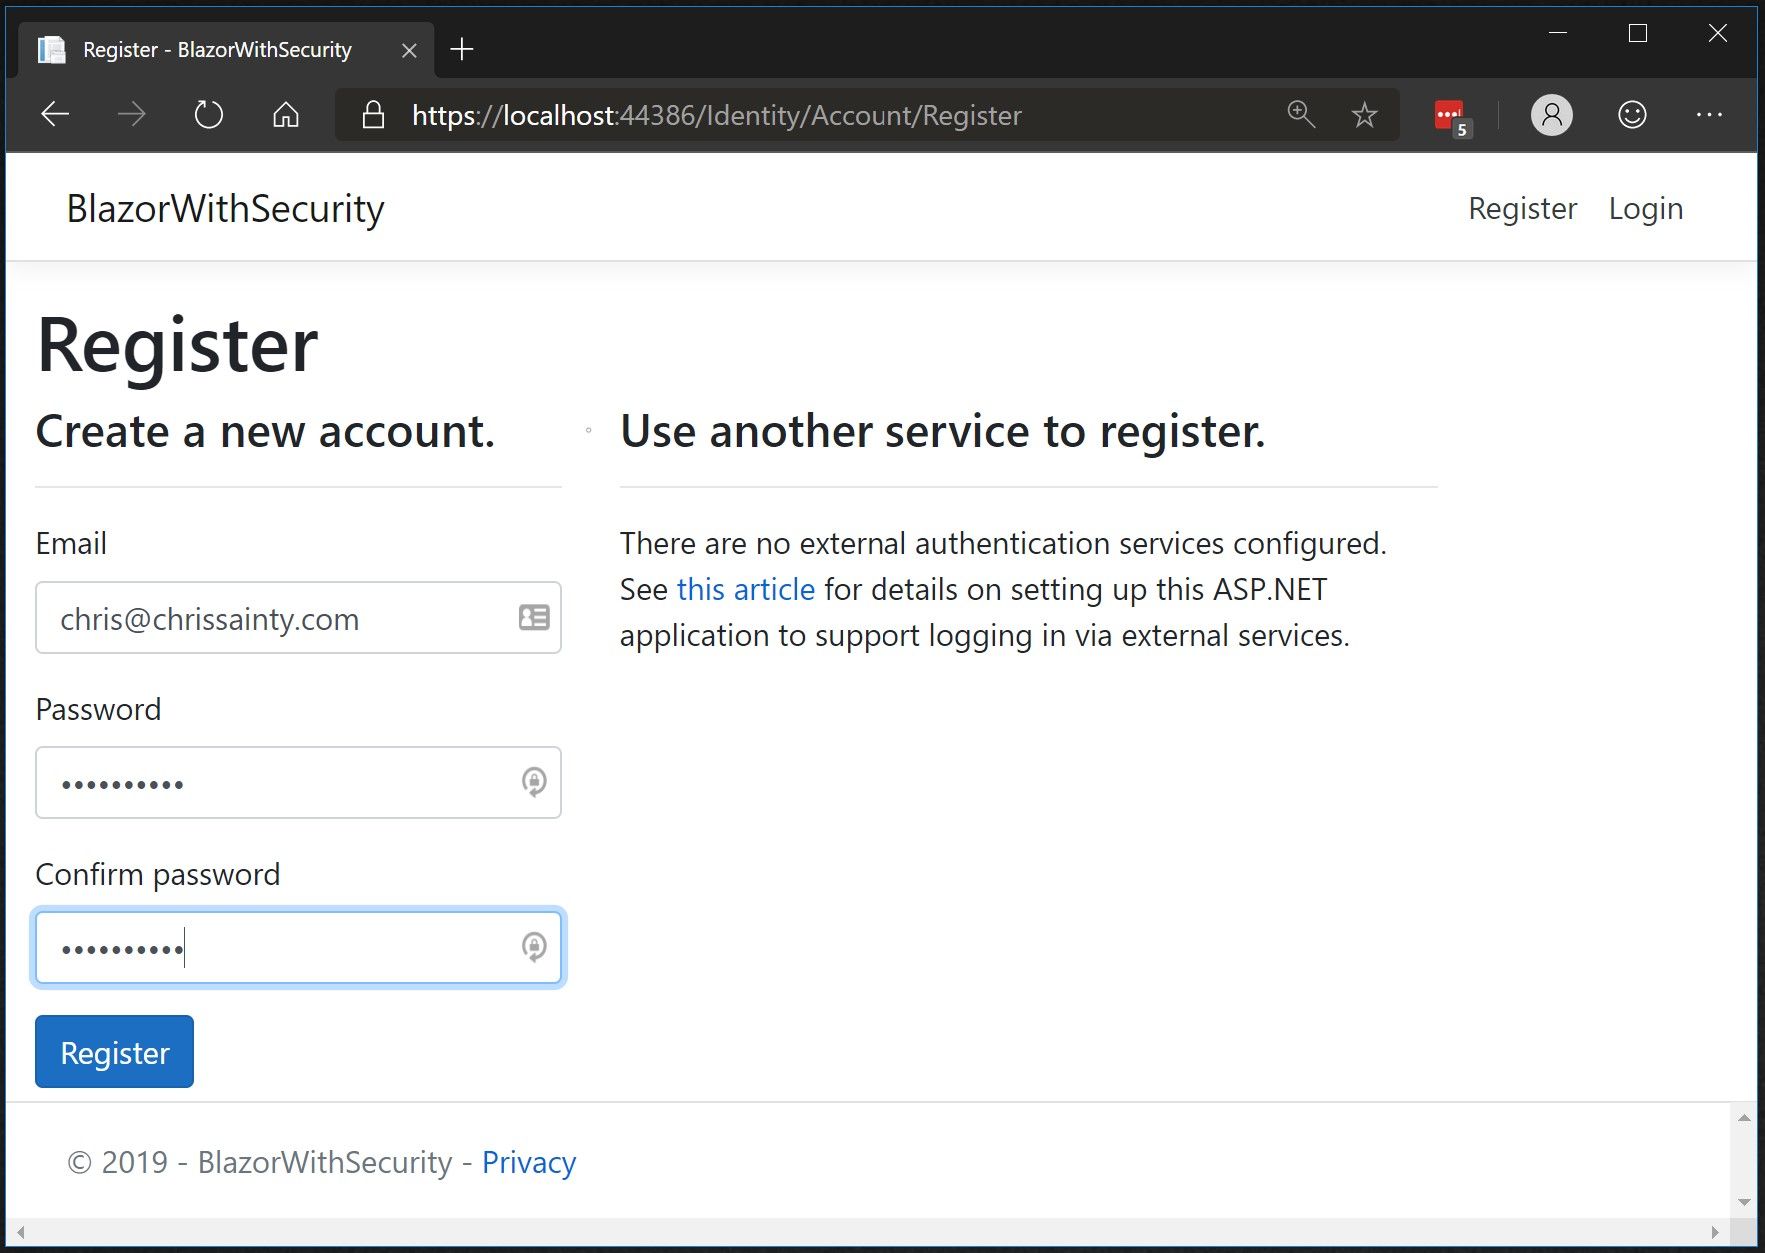
Click the Register link in the top right and fill in your details. Then click Register.
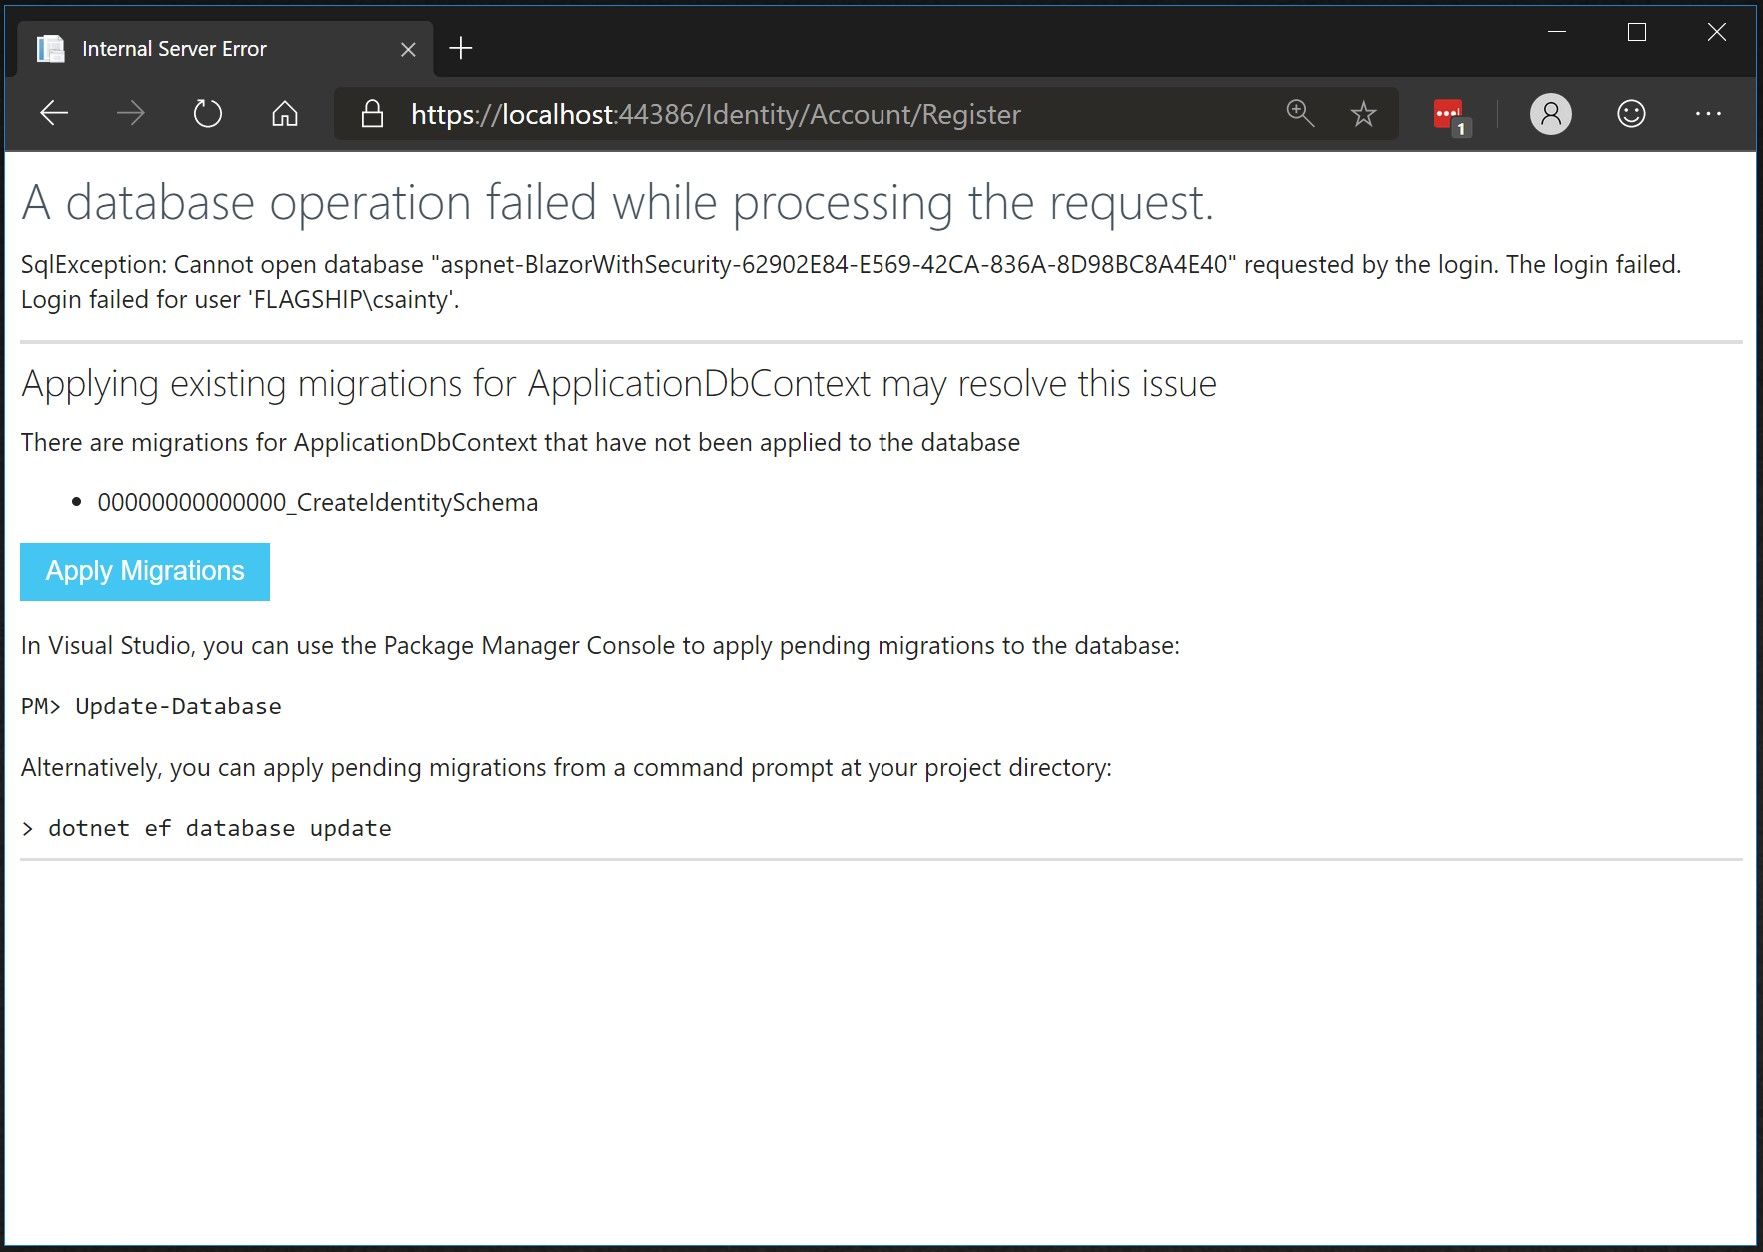
You should then be presented with the following screen prompting you to run migrations. This will setup the database which holds the account details. Click the Apply Migrations button, then refresh the page when prompted.
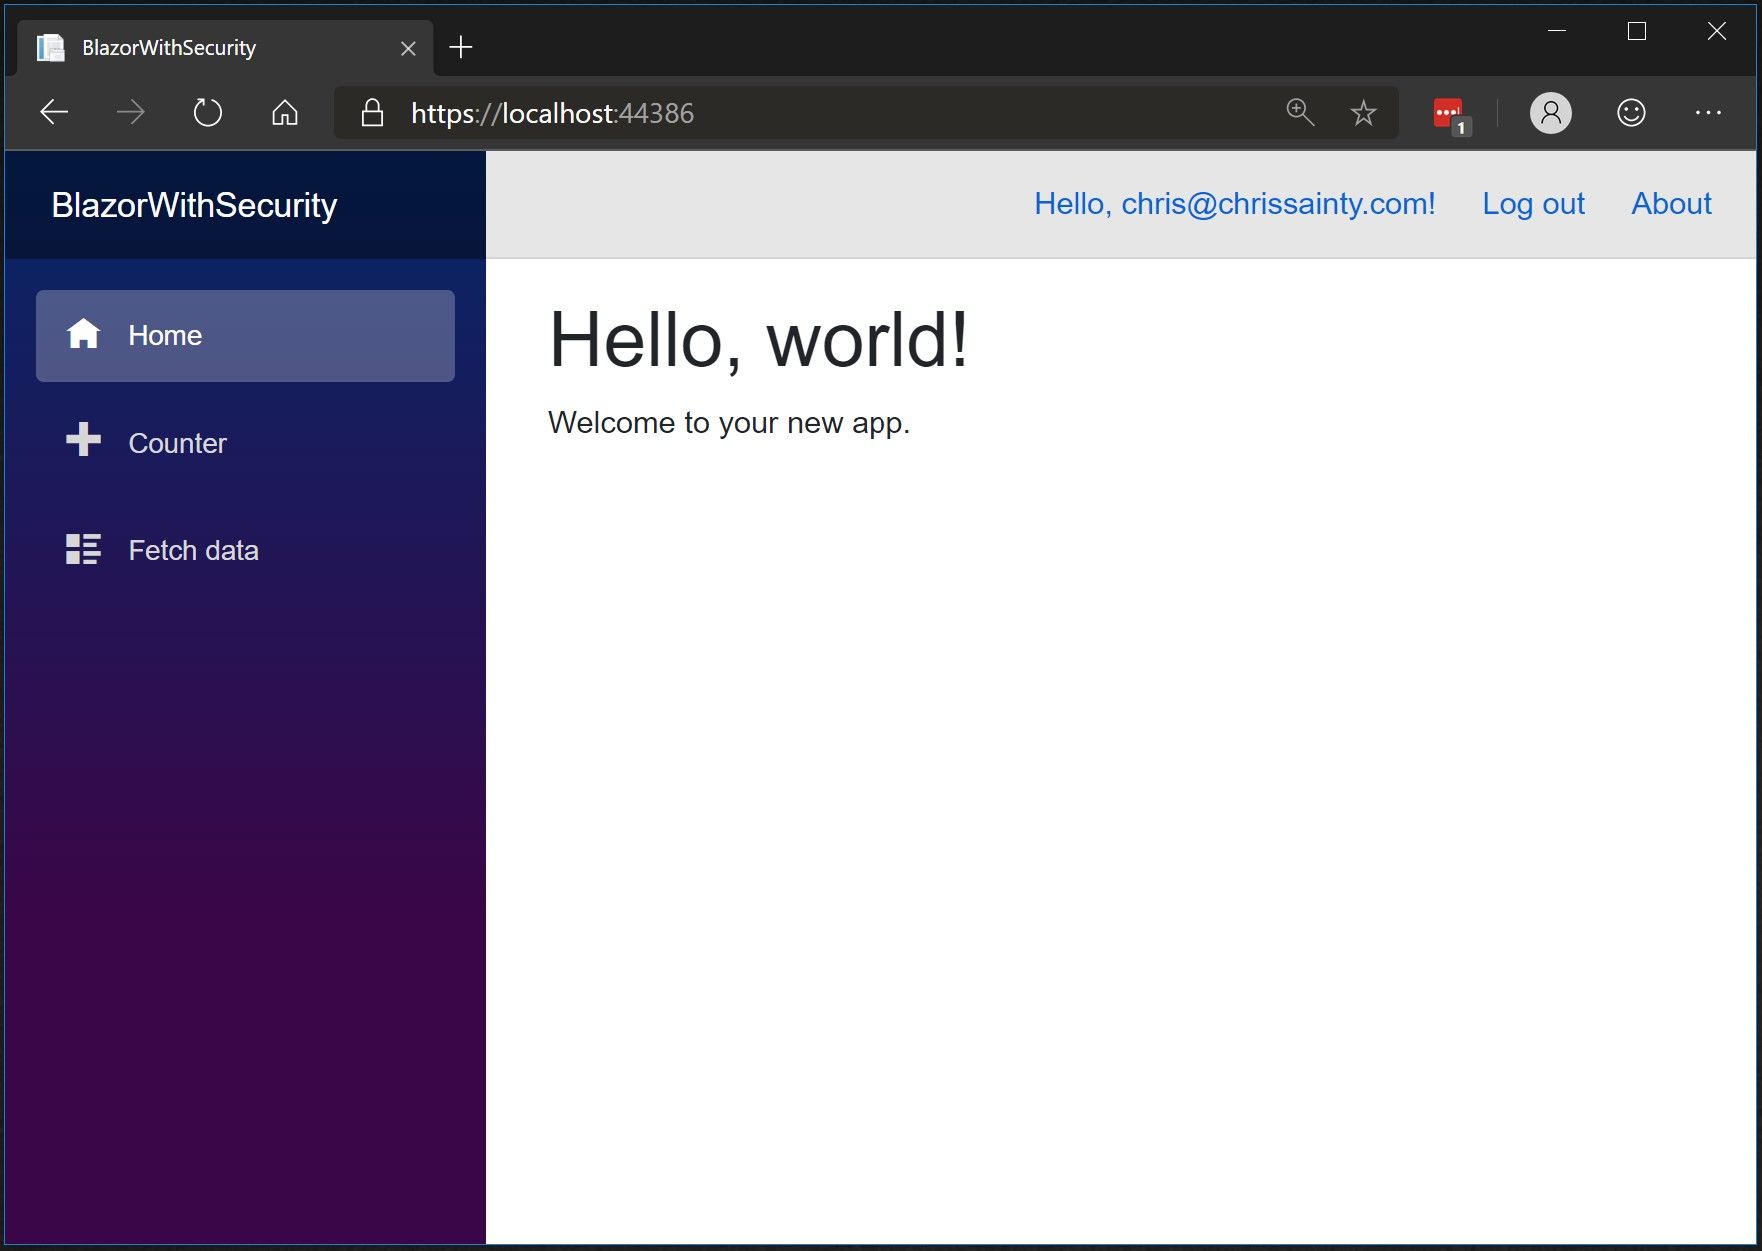
You should then be redirected back to the home page as an authenticated user. You should see the Register link has been replaced with your email address and a Log out button.
We now have a working Blazor app with authentication, so how is all this achieved? Let’s take a look at the various features which enable all this to happen.
ASP.NET Core Identity
Blazors authentication system is built to work with different configurations including ASP.NET Core Identity. The registration process and login screens aren’t Blazor components but razor pages. You won’t find them in the project structure either, they are provided by the following call in the Startup.cs.
services.AddDefaultIdentity<IdentityUser>()
This adds the default identity UI to the application along with the necessary configuration and services. Don’t worry, you can override these pages and customise/create your own and we’ll cover that in a future post.
AuthenticationStateProvider Service
This service provides the authentication state for the current user and is used by the CascadingAuthenticationState component. The service provides a consistant way of serving this information regardless of whether it is being used in a client-side or server-side Blazor application.
When used within a server-side application the current user information is hydrated using the HttpContext which established the connection to the server.
Where as in a client-side application we would have to configure a custom provider which may populate the user information from a API endpoint. We’ll cover this in a future post.
CascadingAuthenticationState Component
Inside the app.razor you will find the following code.
<CascadingAuthenticationState>
    <Router AppAssembly="typeof(Startup).Assembly">
        <NotFoundContent>
            <p>Sorry, there's nothing at this address.</p>
        </NotFoundContent>
    </Router>
</CascadingAuthenticationState>
The part we are interested in is the CascadingAuthenticationState component. It’s responsible for providing the current authentication state to it’s decendent components.
Currently this value is used by the Router and AuthorizeView components to control access to various parts of the UI.
AuthorizeView Component
Inside LoginDisplay.razor we can find an example of the AuthorizeView component.
<AuthorizeView>
    <Authorized>
        <a href="Identity/Account/Manage">Hello, @context.User.Identity.Name!</a>
        <a href="Identity/Account/LogOut">Log out</a>
    </Authorized>
    <NotAuthorized>
        <a href="Identity/Account/Register">Register</a>
        <a href="Identity/Account/Login">Log in</a>
    </NotAuthorized>
</AuthorizeView>
This component allows us to control what parts of the UI are displayed depending on what the user is authorised to view. By default, if no other policy is applied, then non-authenticated users are treated as not authorised. Logged in users are treated as authorised.
It also exposes a context parameter which can be used to view the currently logged in users information. As well as the following 3 templates, two of which you can see used in the code snippet above.
- NotAuthorized - Any content placed in this template will only be shown to non-authorised users.
- Authorizing - Any content placed in this template will be shown during asyncronous authorisation.
- Authorized - Any content placed in this template will only be shown to authorised users.
Summary
In this post, I showed you how to create a new server-side Blazor application with authentication. I then talked through some of the services and components used in the application to enable authentication.
In the next post, I’ll dive into client-side Blazor and how to setup authentication using WebAPI and ASP.NET Core Identity.
