

In part 1 and part 2 we looked at how to containerise Blazor applications with Docker. We can now run Blazor Server and Blazor WebAssembly apps in containers locally - which is great! But how do we go about automating the building of Docker images as part of a CI pipeline? And where do we keep our images once they’re built?
In this post, we’re going to answer at those two questions. We’re going to see how to automate the building of Docker images using Azure Pipelines, then how to publish them to Azure Container Registry. I’m going to use the Blazor Server app from Part 1 as the example project in this post. It’s hosted on GitHub so all instructions will be based on code being hosted there. If your code is hosted elsewhere don’t worry, Azure Pipelines can connect to lots of different code repositories.
Creating an Azure Container Registry
We’re going to start by creating an Azure Container Registry (ACR). ACR is a service for hosting Docker images in Azure, similar to Docker Hub, allowing us to store and manage our container images in a central place.
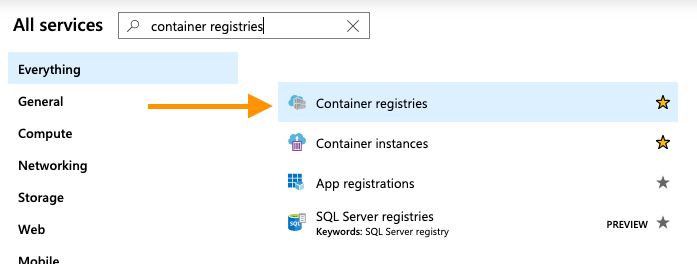
Start by logging into the Azure Portal and then select All Services from the left menu and search for c_ontainer registries_.
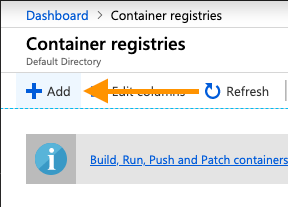
Once the blade loads click on Add at the top.
You will then see the Create container registry screen. Give your registry a name, select your subscription, resource group and location. Leave Admin user disabled, we’ll be using a service connection to connect to the registry from Azure Pipelines for the moment. Finally, select the SKU (pricing level) that fits your needs. I’m going to select Basic for now.
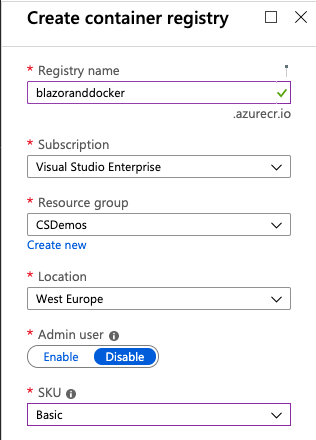
Once you’re done click Create at the bottom of the screen and after a minute or two the new ACR will be available. That’s all we need to do in the Azure Portal for the moment, the rest of our time is going to be spend in Azure Pipelines.
Azure Pipelines
If you’re new to Azure Pipelines, it’s a Continuous Integration (CI)/Continuous Deployment (CD) service which allows developers to build, test and deploy their code anywhere - It’s also free to use! If you don’t already have an account then you can head over to devops.azure.com to signup.

Once you have logged into your account click the New Project button in the top right hand corner and give your project a name and select its visibility.
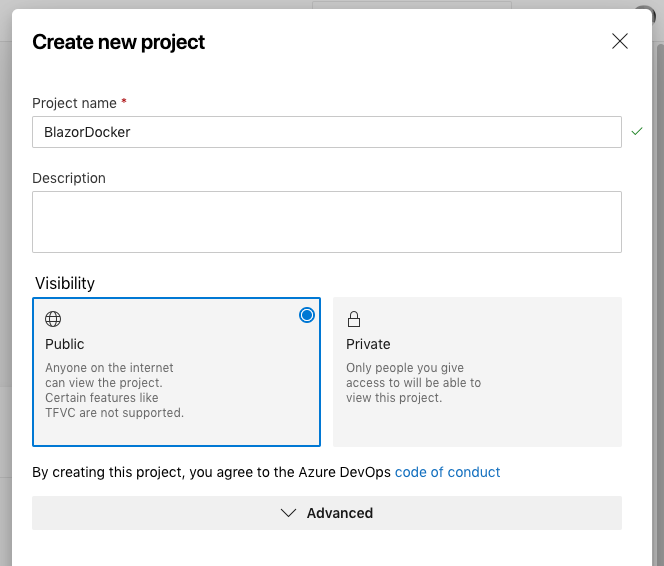
Once you’re done click the Create button, your project will be created and you should see the project home screen.
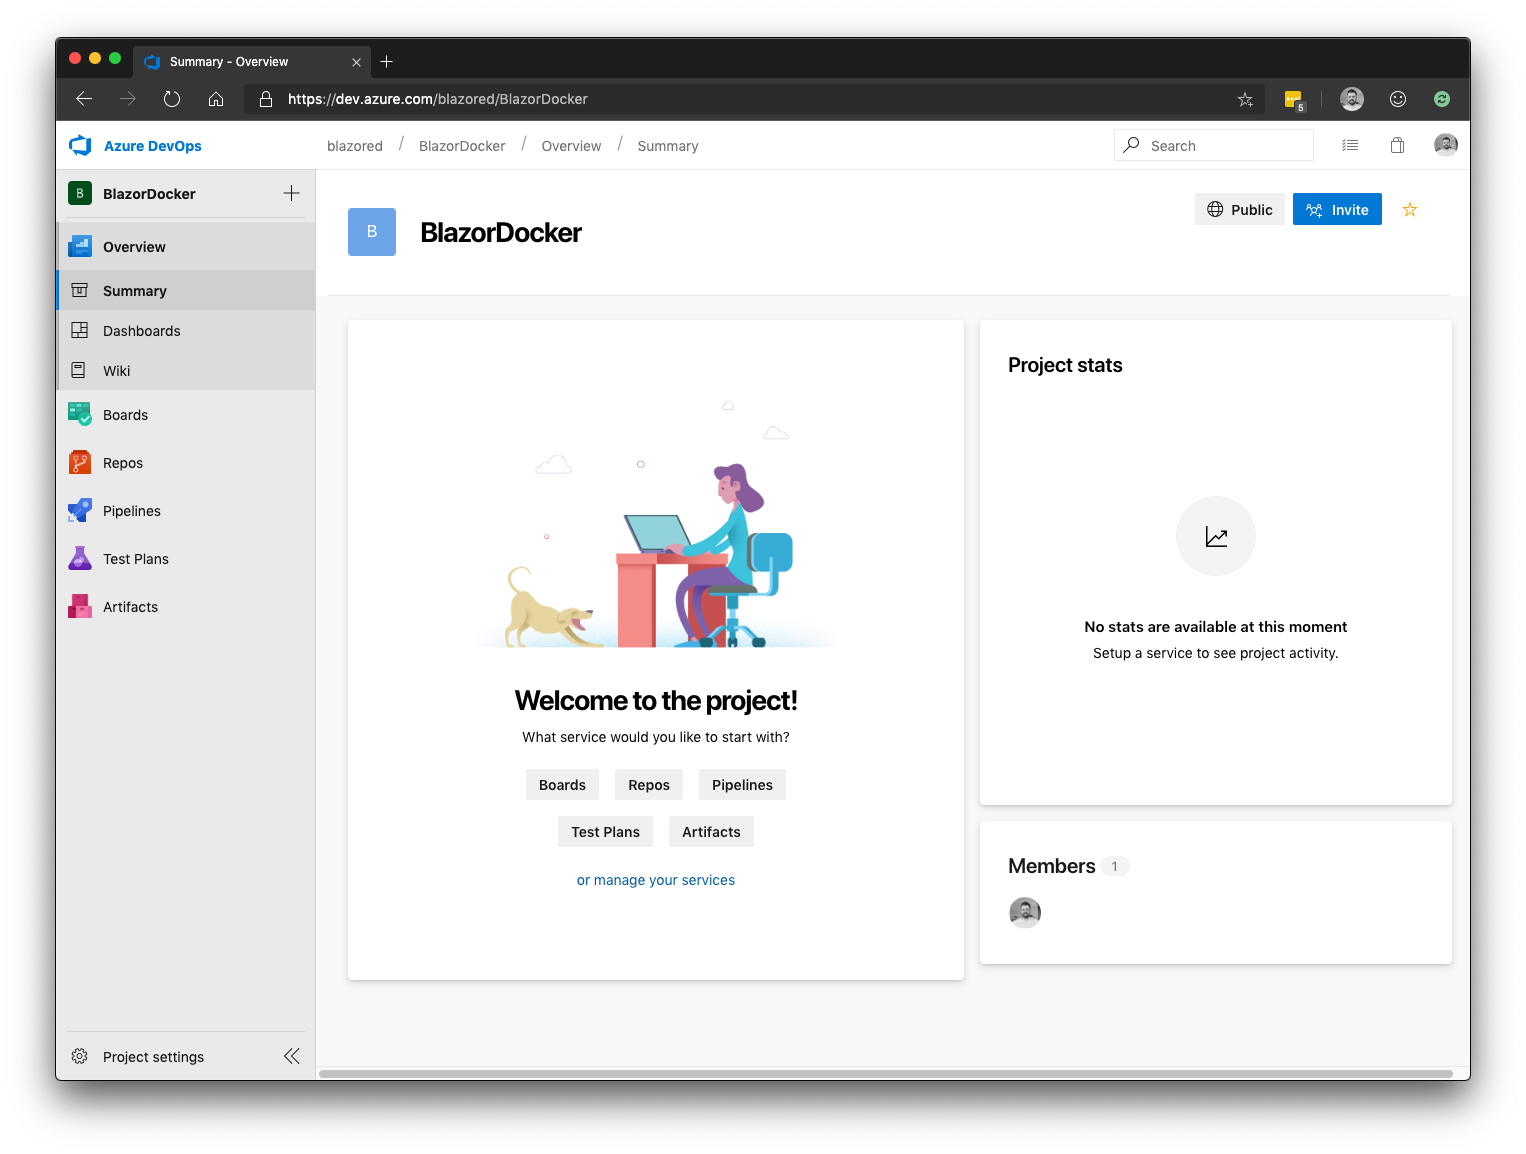
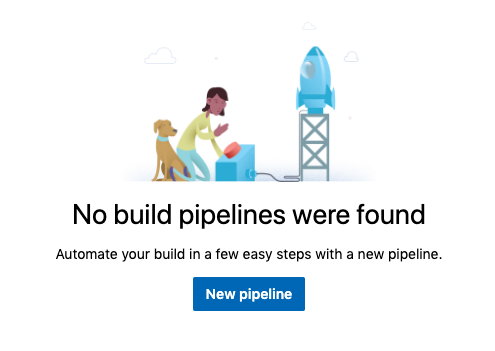
Using the left hand menu, head to Pipelines and then Builds. Then select the New pipeline button from the main panel.
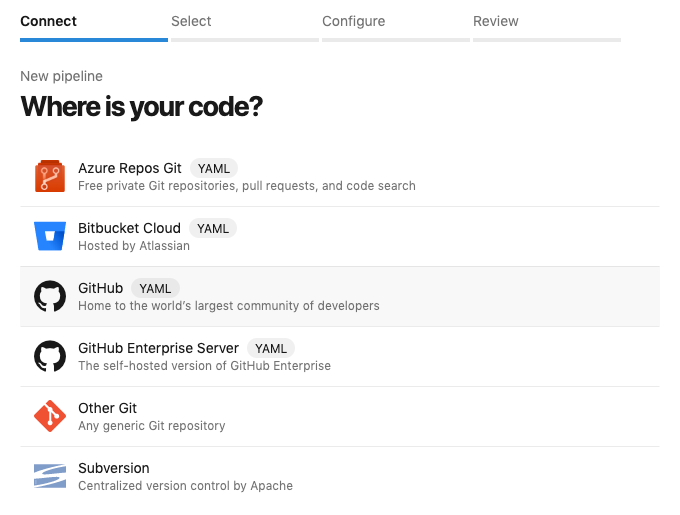
This starts the new pipeline wizard which is made up of 4 steps. The first step is to connect to source control. As I mentioned at the start, my example project is hosted on GitHub but choose whichever option you need.
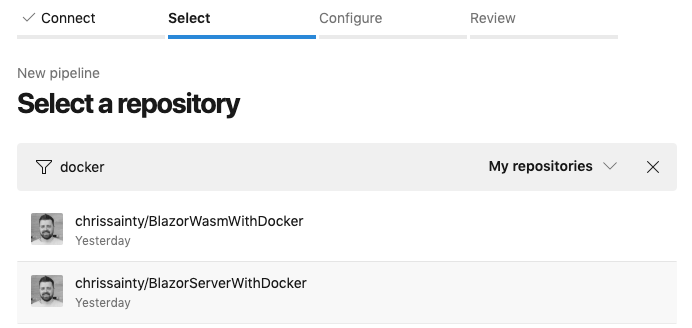
You’ll then see a list of the available repositories, select the one you want to connect to.
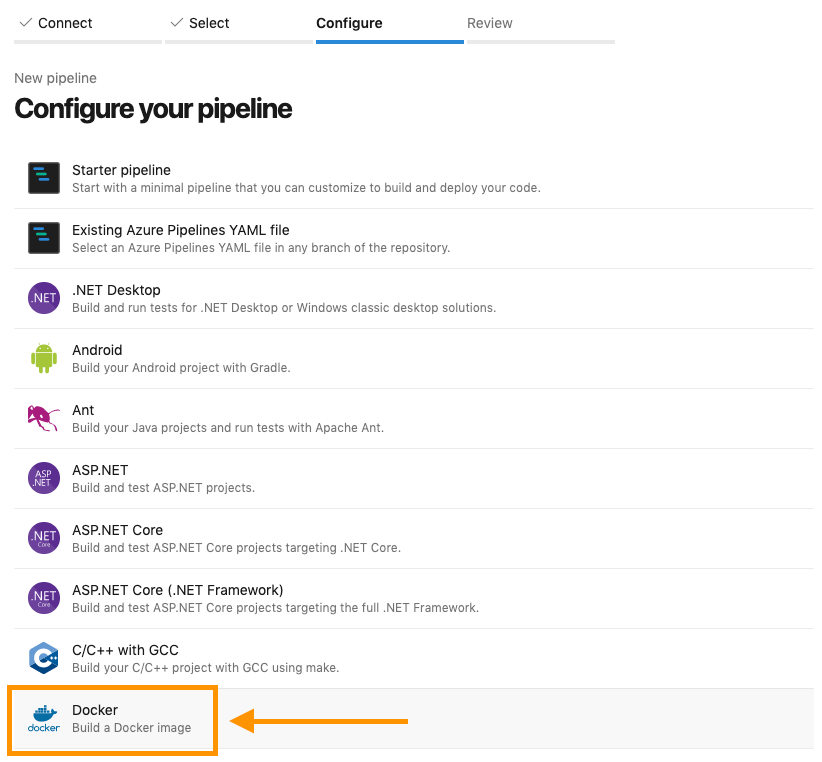
Step three is where we configure the pipeline. You may have to click the Show More button to see the full list. Once you see the full list scroll down and select Docker.
We now get presented with a drawer asking us to specify where to find our dockerfile.
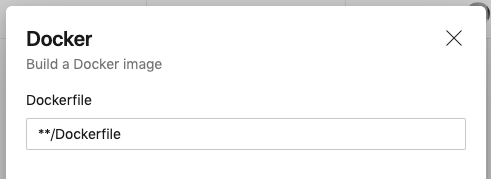
One thing to note here is that the name of the file is case sensitive. In my project, the dockerfile has a lower-case d, so I’m going to change the default value to **/dockerfile, then click Validate and configure.
The last step presents us with the final yaml file which will be used to build our image.

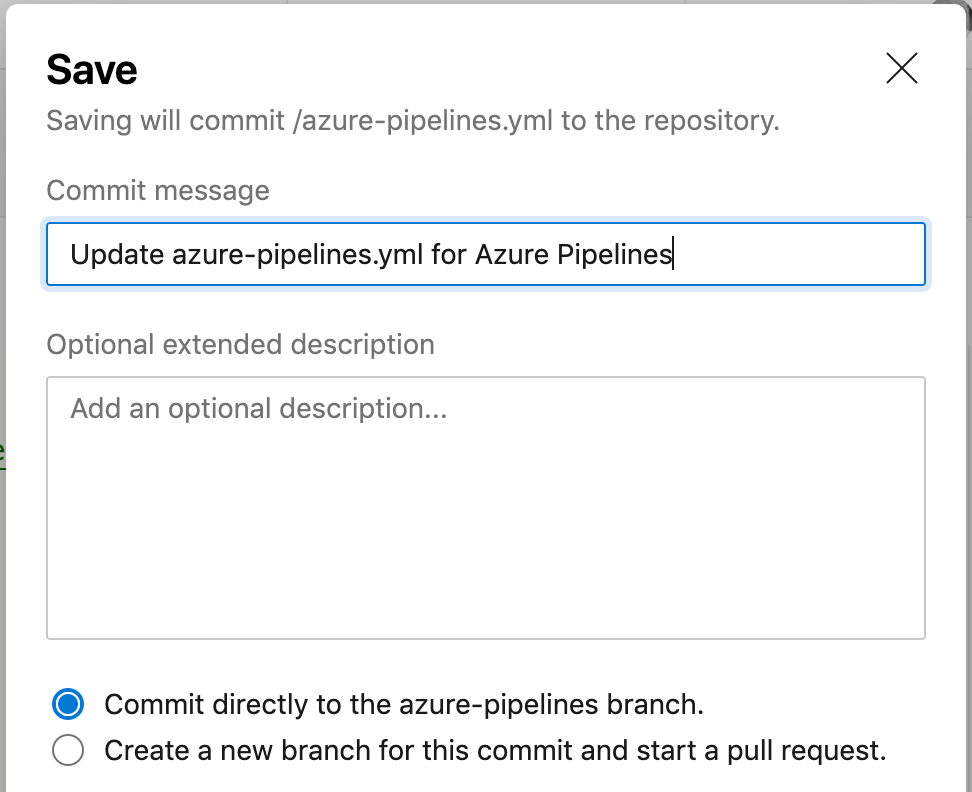
Go ahead and click Save and run in the top right and you will see the Save and run confirmation dialogue.

Here you can choose whether to commit the yaml file to your repositories master branch or to create a new branch and commit it there. I’m going to commit it to a new branch called azure-pipelines. That way I can play with the configuration until everything is setup how I want then raise a PR to merge it to master. Once you’re done click Save and run to complete the process.
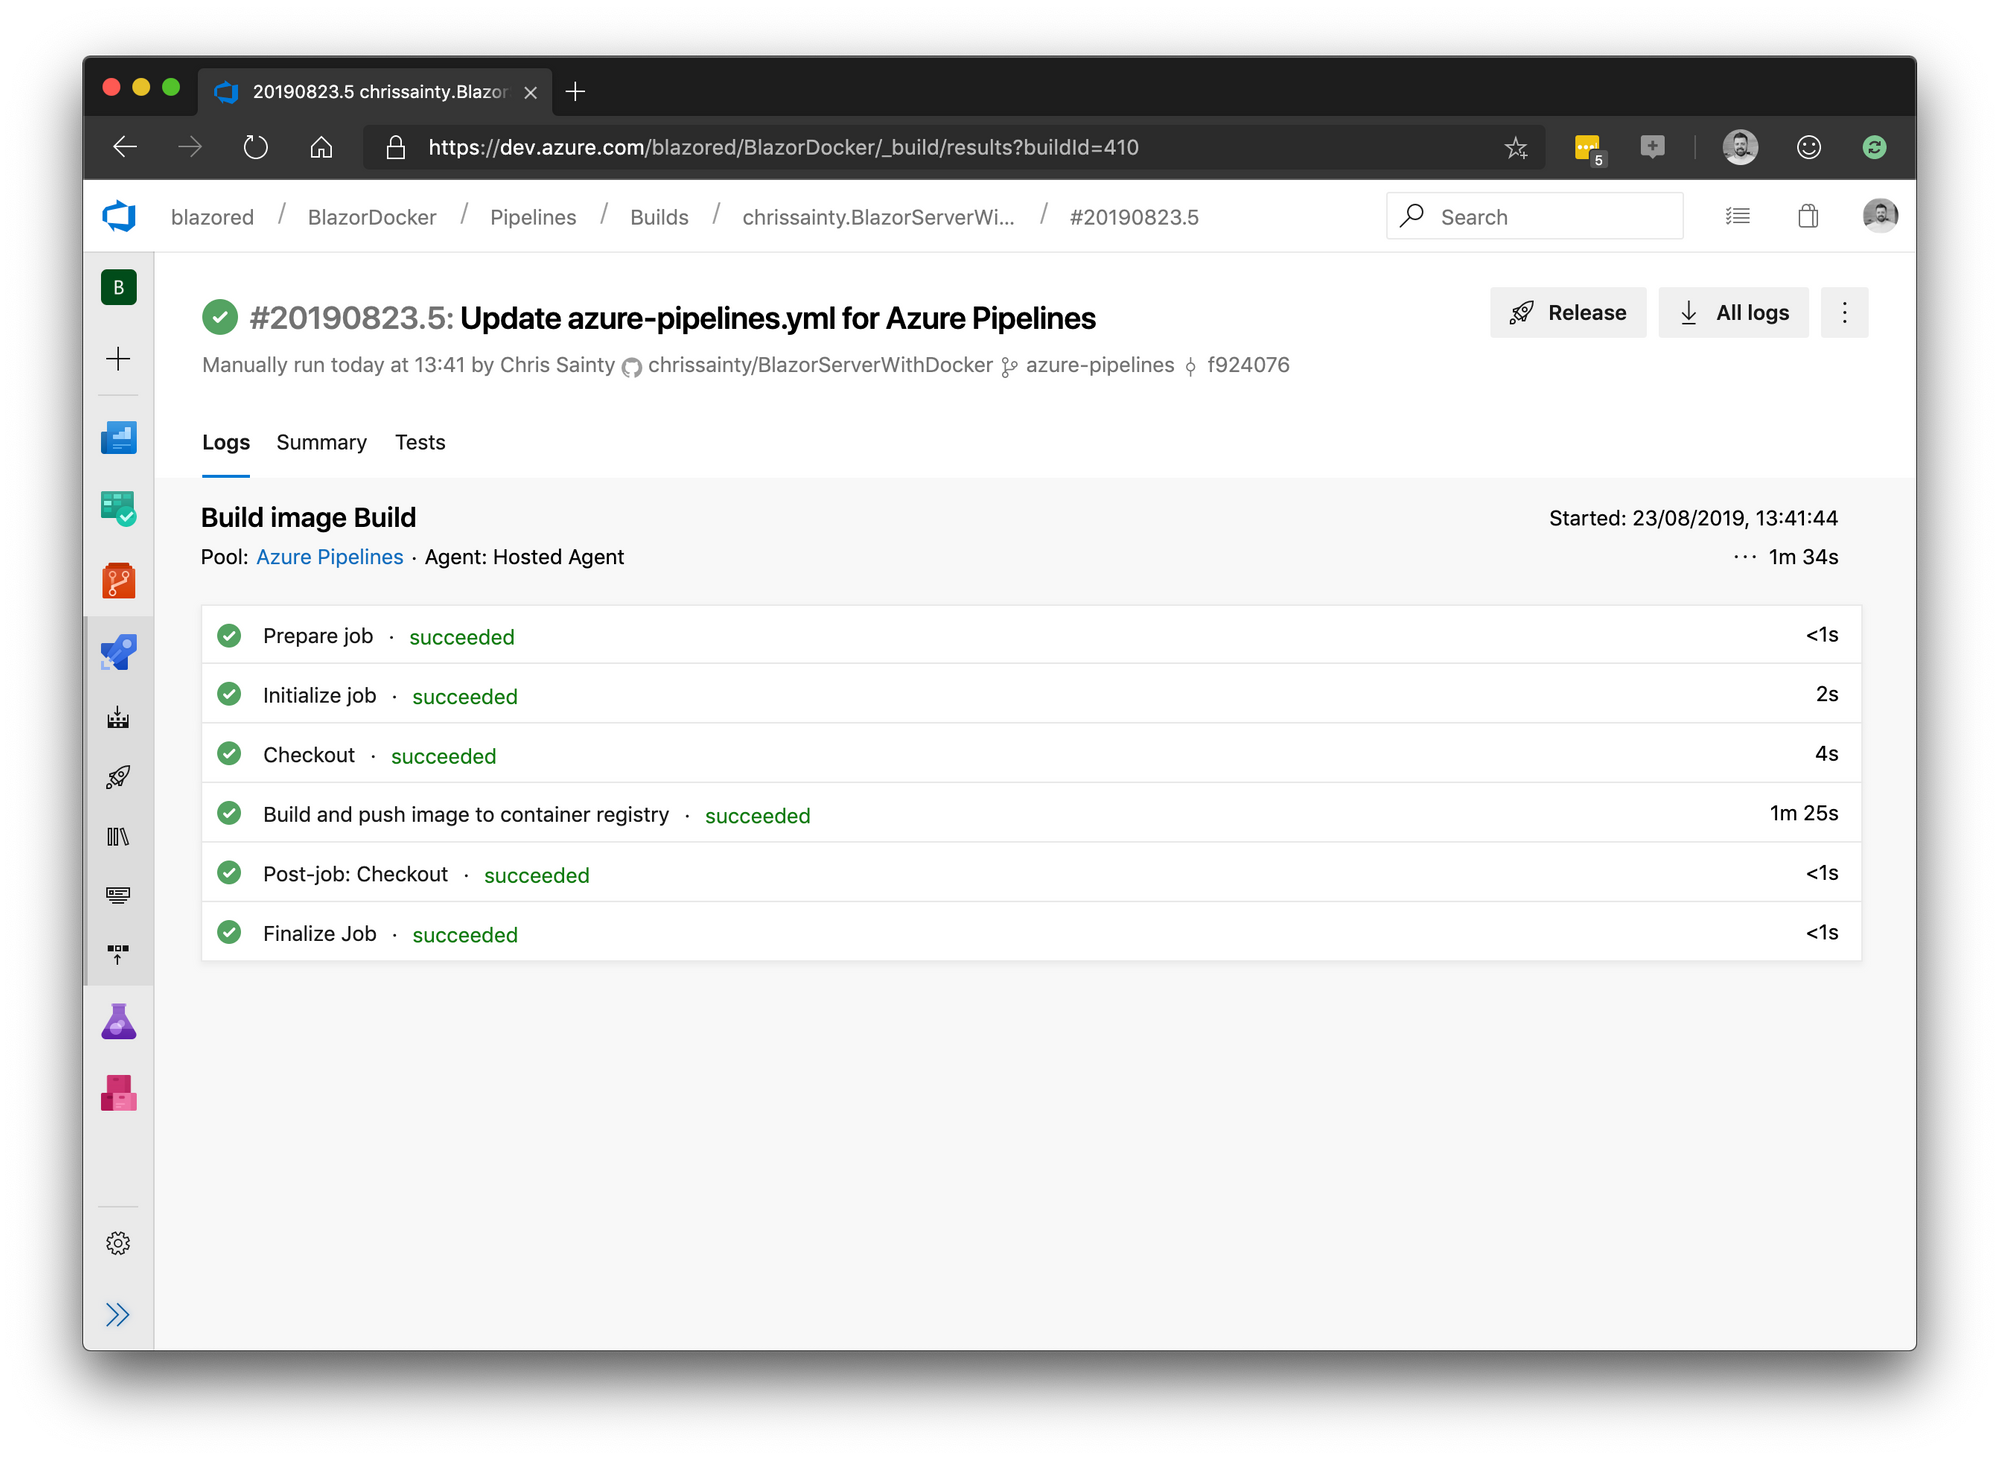
Azure Pipelines will then commit the yaml file and start a new built. Once it’s complete you should see the build summary screen.

We now have our image being built by Azure Pipelines - Which is great! The next step is to publish it to Azure Container Registry.
We’re going to start by adding a service connection to the container registry. Go to Project settings in the bottom left of the screen and then select Service connections under the Pipelines sub-menu.
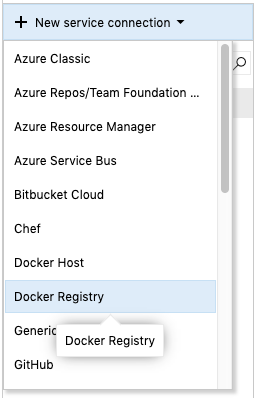
From there, click on New service connection then select Docker registry from the list.
You’ll then see the following modal.
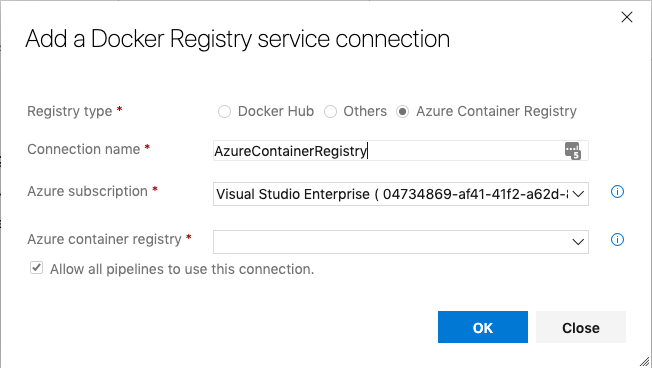
Select Azure Container Registry and give the connection a name. Select which Azure subscription to use and then select the container registry you want to connect to. When you’re done click OK to save the connection.
We need to make some changes to our yaml file to tell it to publish to the container registry. Click on Pipelines then Builds on the main menu. Then click the Edit button in the top right of the screen.

This will load up the yaml editor. Update the Docker task to match the following code.
- task: Docker@2
  displayName: Build and push image to container registry
  inputs:
    command: buildAndPush
    repository: demos/BlazorServerWithDocker
    dockerfile: '**/dockerfile'
    containerRegistry: AzureContainerRegistry
    tags: |
      $(Build.BuildId)
      latest
We’re now using the buildAndPush command instead of the build command. Then specifying which repository to publish the image to. Repositories are a way of organising your images in the registry, similar to a GitHub account which contains repositories. If a repository doesn’t exist then it will be created for you when the image is published.
Another change is specifying the containerRegistry to use, this is where we use the name of the service connection we just setup. Finally, we’ve updated the tags section to tag images with both the build number and the latest tags. The reason for this is so in other parts of the pipeline we can specify the latest tag and always get the latest version of an image. But by using the build number as well we can always request a specific version if we need to.
Once you’re done click Save and you will see the following modal where you can add a commit message before the build file is committed.
This should trigger a build using the new build file. If it hasn’t then after you’ve committed the changes, click Run at the top right of the screen.

Hopefully, after a minute or two, you will see the build summary screen and lots of green!
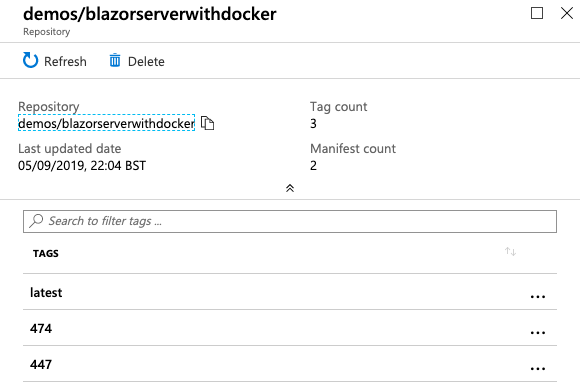
You can check everything was published successfully by heading back over to Azure and checking the Repositories link in your Azure Container Registry. You should see your repository, if you click on it you will be able to view your image.
Summary
In this post I’ve shown how to automate the building of a Docker image using Azure Pipelines. As well as how to automatically publish the image to an Azure Container Registry.
I’m really impressed with how easy it’s been to automate the building and publishing of the image with Azure Pipelines, it really is a fantastic service and the fact it’s freely available to everyone is just amazing. I also want to point out that this post isn’t in any way specific to Blazor and you should be able use the information here to build any docker image.
