

In part 1 of the series, we took a look Docker and some of its key concepts. Then we took the default template for a Blazor Server app and containerised it using Docker. In this post, we are going to take a look at doing the same thing but with a Blazor WebAssembly app.
All the code for this post is available on GitHub.
Different Challenges
Creating a dockerfile for a Blazor Server app was pretty trivial. In-fact, if you use Visual Studio then it generates the file automatically for you with just a couple of clicks, albeit with some quirks.
Blazor WebAssembly projects present us with a different challenge, when published they produce static files. Unlike Blazor Server apps, we don’t need the ASP.NET Core runtime to serve them. This means we can drop the ASP.NET Core runtime Docker image we used in part 1 as the base for our final image. So how are we going to serve our files? The answer is NGINX.
What is NGINX?
If you’ve not come across it before, NGINX is a free and open source web server which can also be used as a reverse proxy, load balancer and HTTP cache. It’s really great at serving static content, fast. When compared to apache it uses significantly less memory and can handle up to 4 times the number of requests per second.
Of course there’s a Docker image for NGINX, several versions in-fact, but the one we’ll be looking to use is NGINX:Alpine. This is a really tiny image, less than 5mb!! And it has everything we’ll need to serve our Blazor WebAssembly application.
Prerequisites
If you’ve not done any work with Docker before you will need to install Docker Desktop for Windows or Docker Desktop for Mac. Just follow the setup instructions and you will be up and running in a couple of minutes. For the purpose of this post we’re going to be using the default project template for a Blazor WebAssembly app. I’m going to be working in VS Code for this project but use whatever IDE/Editor you choose.
Adding NGINX Configuration
We’re going to be using NGINX to serve our application inside our container however, as our app is a SPA (Single Page Application), we need to tell NGINX to route all requests to the index.html.
In the root of the project add a new file called nginx.conf and add in the following code.
events { }
http {
    include mime.types;

    server {
        listen 80;

        location / {
            root /usr/share/nginx/html;
            try_files $uri $uri/ /index.html =404;
        }
    }
}
This is a really bare bones configuration which will allow our app to be served. But if you’re looking to move into production with this then I would highly recommend you head over to the NGINX docs site and have a read of all the options you can configure.
Essentially we’ve setup a simple web server listening on port 80 with files being served from /usr/share/nginx/html. The try_files configuration tells NGINX to serve the index.html whenever it can’t find the requested file on disk.
Above the server block we’ve included the default mime types. As NGINX configuration is all opt-in it doesn’t handle different mime types unless we tell it to.
Adding a Dockerfile
Now let’s add a dockerfile to the root of our project with the following code.
FROM mcr.microsoft.com/dotnet/sdk:6.0 AS build
WORKDIR /src
COPY BlazorWasmWithDocker.csproj .
RUN dotnet restore BlazorWasmWithDocker.csproj
COPY . .
RUN dotnet build BlazorWasmWithDocker.csproj -c Release -o /app/build

FROM build AS publish
RUN dotnet publish BlazorWasmWithDocker.csproj -c Release -o /app/publish

FROM nginx:alpine AS final
WORKDIR /usr/share/nginx/html
COPY --from=publish /app/publish/wwwroot .
COPY nginx.conf /etc/nginx/nginx.conf
Just as we did in part 1, let’s break this down a section at a time to understand what is going on.
FROM mcr.microsoft.com/dotnet/sdk:6.0 AS build
WORKDIR /src
COPY BlazorWasmWithDocker.csproj .
RUN dotnet restore BlazorWasmWithDocker.csproj
COPY . .
RUN dotnet build BlazorWasmWithDocker.csproj -c Release -o /app/build
This first section is going to build our app. We’re using Microsoft’s official .NET 6 SDK image as the base for the build. We set the WORKDIR in the container to /src and then COPY over the csproj file from our project. Next we run a dotnet restore before COPYing over the rest of the files from our project to the container. Finally, we build the project by RUNing dotnet build on our project file setting the configuration to release.
FROM build AS publish
RUN dotnet publish BlazorWasmWithDocker.csproj -c Release -o /app/publish
The next section publishes our app. This is pretty straightforward, we use the previous section as a base and then RUN the dotnet publish command to publish the project.
FROM nginx:alpine AS final
WORKDIR /usr/share/nginx/html
COPY --from=publish /app/publish/wwwroot .
COPY nginx.conf /etc/nginx/nginx.conf
The last section produces our final image. We use the nginx:alpine image as a base and start by setting the WORKDIR to /usr/share/nginx/html - this is the directory where we’ll serve our application from. Next, we COPY over our published app from the previous publish section to the current working directory. Finally, we COPY over the nginx.conf we created earlier to replace the default configuration file.
Building the image
Now we have our dockerfile all setup and ready to go we need to build our image.
docker build -t blazor-webassembly-with-docker .
Just as in part 1, we’re using the docker build command, the -t switch allows us to tag the image with a friendly name so we can identify it a bit easier later on. The dot (.) at the end tells docker to look for the dockerfile in the current directory.
The output from the build looks like this.
[+] Building 100.8s (17/17) FINISHED
 => [internal] load build definition from Dockerfile
 => => transferring dockerfile: 500B
 => [internal] load .dockerignore
 => => transferring context: 2B
 => [internal] load metadata for docker.io/library/nginx:alpine
 => [internal] load metadata for mcr.microsoft.com/dotnet/sdk:6.0
 => [build 1/6] FROM mcr.microsoft.com/dotnet/sdk:6.0@sha256:90b566b141a8e2747f2805d9e4b2935ce09040a2926a1591c94
 => => resolve mcr.microsoft.com/dotnet/sdk:6.0@sha256:90b566b141a8e2747f2805d9e4b2935ce09040a2926a1591c94108a83b
 => => sha256:08af7dd3c6400833072349685c6aeaf7b86f68441f75b5ffd46206924c6b0267 15.17MB / 15.17MB
 => => sha256:90b566b141a8e2747f2805d9e4b2935ce09040a2926a1591c94108a83ba10309 2.17kB / 2.17kB
 => => sha256:e86d68dca8c7c8106c1599d293fc00aabaa59dac69e4c849392667e9276d55a9 7.31kB / 7.31kB
 => => sha256:7423077999145aa09211f3b975495be42a009a990a72d799e1cb55833abc8745 31.61MB / 31.61MB
 => => sha256:148a3465a035ddc2e0ac2eebcd5f5cb3db715843d784d1b303d1464cd978a391 2.01kB / 2.01kB
 => => sha256:a2abf6c4d29d43a4bf9fbb769f524d0fb36a2edab49819c1bf3e76f409f953ea 31.36MB / 31.36MB
 => => sha256:a260dbcd03fce6db3fe06b0998f5f3e54c437f647220aa3a89e5ddd9495f707e 156B / 156B
 => => sha256:96c3c696f47eb55c55e43c338922842013fc980b21c457826fd97f625c0ab497 9.44MB / 9.44MB
 => => sha256:d81364490ceb3caecbe62b7c722959258251458e6d1ba5acfc60db679c4411f8 25.36MB / 25.36MB
 => => sha256:3e56f7c4d95f973a8cd8cf1187e56ee59c1cc1f0eb4a6c9690a1d6d6adf72b4e 136.50MB / 136.50MB
 => => sha256:9939dbdaf4a702d0243b574a728eca401402f305a80b277acbfa5b3252625135 13.37MB / 13.37MB
 => => extracting sha256:a2abf6c4d29d43a4bf9fbb769f524d0fb36a2edab49819c1bf3e76f409f953ea
 => => extracting sha256:08af7dd3c6400833072349685c6aeaf7b86f68441f75b5ffd46206924c6b0267
 => => extracting sha256:7423077999145aa09211f3b975495be42a009a990a72d799e1cb55833abc8745
 => => extracting sha256:a260dbcd03fce6db3fe06b0998f5f3e54c437f647220aa3a89e5ddd9495f707e
 => => extracting sha256:96c3c696f47eb55c55e43c338922842013fc980b21c457826fd97f625c0ab497
 => => extracting sha256:d81364490ceb3caecbe62b7c722959258251458e6d1ba5acfc60db679c4411f8
 => => extracting sha256:3e56f7c4d95f973a8cd8cf1187e56ee59c1cc1f0eb4a6c9690a1d6d6adf72b4e
 => => extracting sha256:9939dbdaf4a702d0243b574a728eca401402f305a80b277acbfa5b3252625135
 => [internal] load build context
 => => transferring context: 1.71MB
 => [final 1/4] FROM docker.io/library/nginx:alpine@sha256:eb05700fe7baa6890b74278e39b66b2ed1326831f9ec3ed4bdc636
 => [build 2/6] WORKDIR /src
 => [build 3/6] COPY BlazorWasmWithDocker.csproj .
 => [build 4/6] RUN dotnet restore BlazorWasmWithDocker.csproj
 => [build 5/6] COPY . .
 => [build 6/6] RUN dotnet build BlazorWasmWithDocker.csproj -c Release -o /app/build
 => [publish 1/1] RUN dotnet publish BlazorWasmWithDocker.csproj -c Release -o /app/publish
 => CACHED [final 2/4] WORKDIR /usr/share/nginx/html
 => CACHED [final 3/4] COPY --from=publish /app/publish/wwwroot .
 => [final 4/4] COPY nginx.conf /etc/nginx/nginx.conf
 => exporting to image
 => => exporting layers
 => => writing image sha256:c785a78daf241c7be4fde0d7335971a48901b05f9f70afca8451f5887b2e9a97
 => => naming to docker.io/library/blazor-webassembly-with-docker
Starting a container
Now we have built our image we can go ahead and start a container and check if everything is working.
docker run -p 8080:80 blazor-webassembly-with-docker
This command tells Docker to start a container with the tag blazor-webassembly-with-docker. The -p switch maps port 8080 on the host to port 80 in the container.
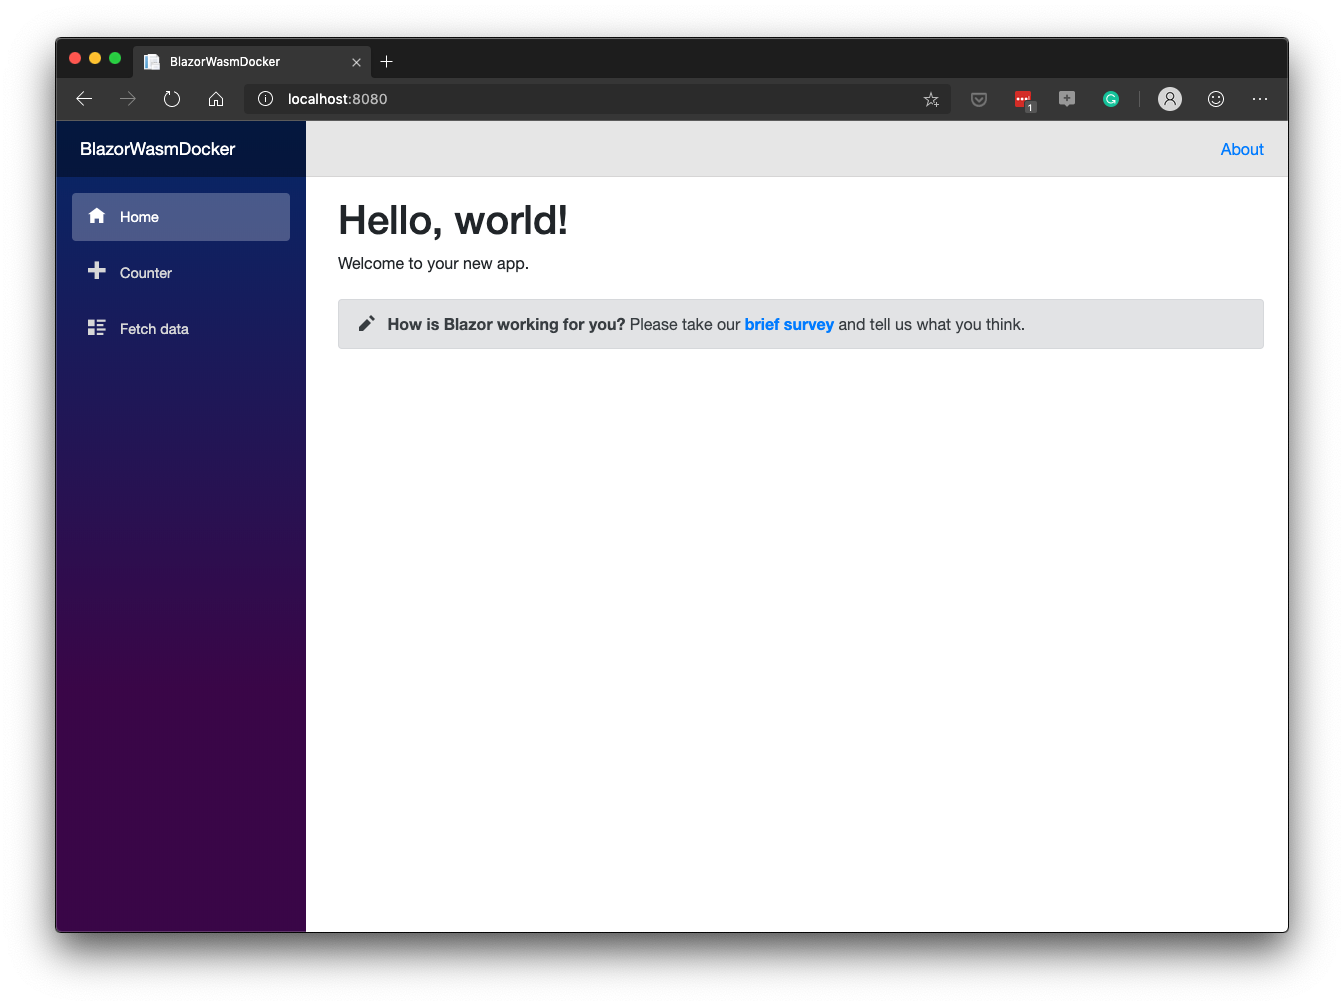
Once you have run the command then open a browser and navigate to http://localhost:8080 and you should be able to load the app.
Detached Mode
If you want to leave your container running but you don’t want it hogging a terminal window, you can start it in detached mode. This mode runs the container in the background so it doesn’t receive any inputs or display any outputs. To use detached mode add the -d switch to the docker run command.
docker run -d -p 8080:80 blazor-webassembly-with-docker
When executed you’ll see the unique identifier for your container appear on the screen and then you’ll be returned back to the terminal prompt.
To view any container you currently have running in the background you can use the docker ps command.
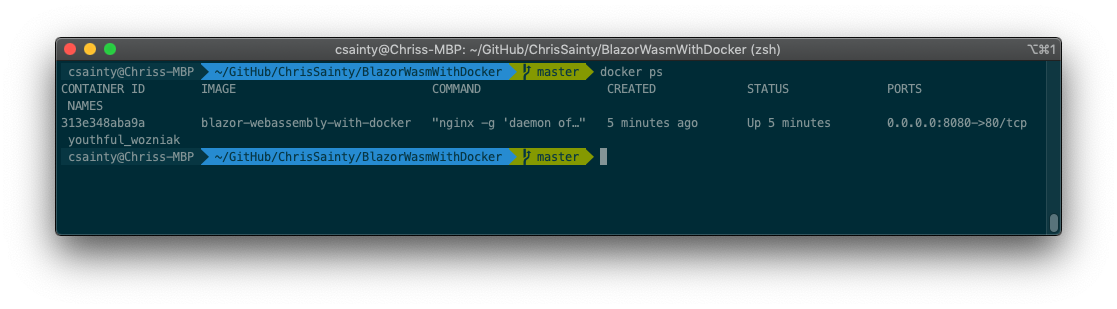
If you want to stop a container running in the background then use the docker stop command with either the containers ID or name.
docker stop youthful_wozniak
Summary
In this post, we’ve looked at the different challenges we face running a Blazor WebAssembly application in a container. We then built an image for our app which uses NGINX to serve the static content which Blazor WebAssembly applications produce. We finished up be checking everything worked by starting a container using our new image.
Next time we’ll take a look at how we can automate building and deploying with Azure DevOps and hopefully get our containers running on Azure.
