

There is no denying the increasing popularity of Tailwind CSS and it’s no secret I’ve been a big fan of it for quite some time now, using it in both personal projects–this blog is styled using Tailwind–as well as professional ones.
Back in March 2020 (yes, that March! Right around the time the world went to s**t) I wrote a two part mini-series, Integrating Tailwind CSS with Blazor using Gulp. A lot has changed since then, Tailwind CSS v3 has been released and Gulp is not the tool I would use anymore for integrating Tailwind into a Blazor project. So, I thought it was the right time for a new post coving the current state of play. This also marks my first blog post since finishing my book, Blazor in Action!
In this post, I’m going to give an overview of the new features available in Tailwind v3 and what’s changed about how Tailwind is used. I’m then going to show you several ways that you can get Tailwind CSS integrated into your Blazor application.
Let’s get to it!
What’s new in Tailwind CSS v3
The biggest change to Tailwind in v3 is the move to the new JiT (Just-in-Time) compiler. This was originally introduced in v2 but was something you could opt-into. However, with v3, it’s now the default way to use Tailwind. This is an important change when integrating with Blazor. When developing a Blazor app, in addition to running the app via Visual Studio or dotnet watch, we’ll need to have an additional process running that watches for usage of Tailwind classes in our app and recompiles the CSS whenever a new class is found.
Another cool feature is the introduction of a new Play CDN. In previous versions of Tailwind, the CDN version was a set number of styles based on the default Tailwind configuration. If you wanted any form of customisation you were out of luck.
The Play CDN is actually a JavaScript library hosted on a CDN, add a reference to the script and you can use every Tailwind feature. However, it’s important to point out that the Tailwind team do not recommend this for production applications–only for development purposes or demo applications.
As well as the two major features listed above, there were a whole host of new styles and effects added to help make our applications look even better. Here are my highlights:
- Coloured box shadows
- Scroll snap API
- Multi-column layout
- Native form control styling
- Fancy underline styles
For the full list of changes in v3, check out the release blog post on the Tailwind site.
Trying things out using the new Tailwind CDN
If you’re thinking about using Tailwind for the first time, or perhaps, like me, you build a lot of demos apps or test apps and want to take advantage of Tailwind without having to do too much setup work, the new Play CDN is something you’ll want to checkout.
Unlike previous version of the Tailwind CDN, where a CSS file is produced based on the default settings, and then hosted on the CDN for us to reference. This new version allows us to take full advantage of all the features Tailwind has to offer. How does can it do that? Well, it’s because it’s actually a JavaScript library rather than a static CSS file. Let’s take a look at how to set it up.
Adding the Play CDN to a Blazor app
To add the Play CDN to a Blazor application, we need to add the following script tag to the head element of the host page (index.html for Blazor WebAssembly or _hosts.cshtml for Blazor Server).
<head>
    ...
    <title>Tailwind via Play CDN</title>
    <base href="/" />
    <script src="https://cdn.tailwindcss.com"></script>
</head>
Once the script is in place we can run the app using hot reload, either via dotnet watch or Visual Studio, and start applying Tailwind classes. As we do, the Play CDN library will pickup the classes and generate the necessary styles into a style tag in the head element.
For example, say we made the following changes to MainLayout.razor.
<div class="flex">
    <div class="w-[250px] bg-slate-900 p-6">
        <NavMenu />
    </div>

    <main class="flex flex-col flex-grow">
        <div class="bg-slate-700 p-4 text-right shadow-lg">
            <a href="https://docs.microsoft.com/aspnet/" target="_blank">About</a>
        </div>

        <article class="p-4">
            @Body
        </article>
    </main>
</div>
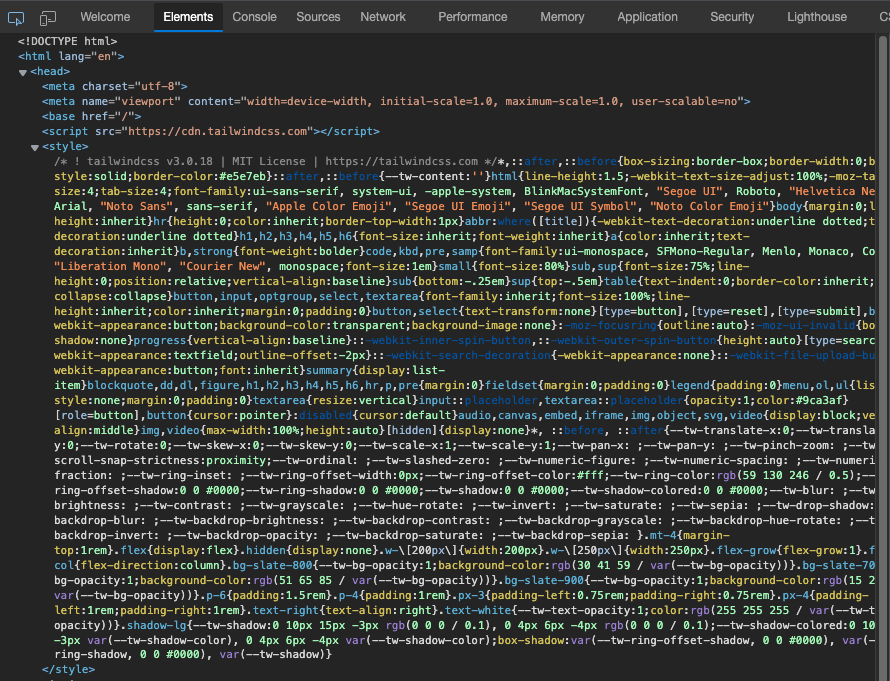
The Play CDN generate the following style tag:
This alone is pretty cool, but we can also adjust pretty much anything we want. For example, we can include core plugins using the plugins query parameter.
<script src="https://cdn.tailwindcss.com?plugins=typography,line-clamp"></script>
The proceeding code will include the Typography plugin and the Line Clamp plugin.
We can also customise any part of the Tailwind configuration, just as we could when working with Tailwind locally, by including a second script tag defining any additional configuration changes.
In the following example we’re adding a custom font size.
<script>
    tailwind.config = {
      theme: {
        extend: {
          fontSize: {
            xxs: ['.65rem', '.75rem']
          }
        }
      }
    }
</script>
The new Play CDN is really impressive and quick to work with, exactly what you want from a tool like this. I’m definitely going to be using this a lot in my demo apps and prototype projects going forward.
But what about production apps? How do we integration this new version of Tailwind into those? Let’s look at that next.
Adding Tailwind CSS to a Blazor project
As we learned earlier, with Tailwind v3 JiT mode is now the default. This means that we need to run a process that watches for usage of Tailwind CSS classes and recompiles the output CSS as required. There are two options for this:
- Tailwind CLI
- PostCSS integrated into an existing build tool such as webpack
In this post, I’m going to show you two options using the Tailwind CLI. However, if you already have some form of JavaScript build system in place, then the PostCSS option might be the best option for you. I’d suggest checking out the official docs on integrating PostCSS.
With the v3 release, we now have two options when it comes to running the Tailwind CLI. The first is installing and running the CLI via NPM. The second is a new option, the standalone CLI. As the name suggest, this option doesn’t require NPM, it’s a self-contained executable. We’re going to cover both options. Let’s start with the NPM version.
Integrating using the Tailwind CLI via NPM
I guess you could call this the ’traditional’ way to run the Tailwind CLI. I would suggest using this option if your application is already using NPM or you’re just happy or comfortable with NPM.
If you don’t already have it, you will need to install NodeJs. I’d suggest grabbing the LTS (Long Term Service) version. NPM will be installed along with Node.
Once you have Node installed, you can install the Tailwind CLI using the following command:
npm install -g tailwindcss
The -g flag installs the CLI globally on your machine.
We’re now ready to add Tailwind to Blazor. From a terminal in the root of your Blazor app, run the following command:
npx tailwindcss init
This will create a new default Tailwind configuration file called tailwind.config.js, in the same folder, which looks like this.
module.exports = {
  content: [],
  theme: {
    extend: {},
  },
  plugins: [],
}
All that we need to do to this file is tell Tailwind what files contain Tailwind CSS classes so the CLI can monitor them for changes. In a Blazor app those files will be razor files then either html files for Blazor WebAssembly (index.html), or cshtml files for Blazor Server (_hosts.cshtml). The code below will cover all file types mentioned.
module.exports = {
  content: ["./src/**/*.{razor,html,cshtml}"],
  theme: {
    extend: {},
  },
  plugins: [],
}
Now we need to setup a source CSS file. Tailwind will ingest this file and output the final compiled CSS our application will reference. I like to create a folder at the root of the application called Styles and add a CSS file in there called app.css, or something similar. Inside that file, we need to add 3 lines of code:
@tailwind base;
@tailwind components;
@tailwind utilities;
These are Tailwind directives and they will be replaced with whatever classes are needed based on what we use in our application. It’s also worth pointing out that we can add arbitrary CSS classes in this file and they will appear in the final output CSS file.
At this point we can go back to our terminal and start the Tailwind CLI. This will produce the output CSS file as well as put the CLI in watch mode.
npx tailwindcss -i ./Styles/app.css -o ./wwwroot/app.css --watch
With the arguments above, the compiled CSS file will be placed into the root of the wwwroot folder. If you want it somewhere else, change the path accordingly.
The final piece of setup is to add a reference to the output CSS file in the host page of the Blazor app.
<head>
    ...
    <title>Tailwind via NPM</title>
    <base href="/" />
    <link href="app.css" rel="stylesheet" />
</head>
At this point we can run the Blazor app using dotnet watch or Visual Studio with hot reload and start adding Tailwind classes to our components. As we do the Tailwind CLI will pick up the usages and regenerate the output CSS file. Blazor’s hot reload will update the page and changes should show up almost instantly. I will caveat this with, “depending on how hot reload is feeling on that day”. I have had days where changes can take between 10-15 seconds to show on the page and other times they are instant. It’s important to remember that .NET’s hot reload is still very new and things are improving all the time. It’s just something to be aware of.
When it comes time to publish the application we can use the CLI to generate a minified version of the final CSS using the following command:
npx tailwindcss -i ./Styles/app.css -o ./wwwroot/app.css --minify
That’s about it for the NPM version. Now let’s move over to the standalone CLI.
Integrating using the new Tailwind standalone CLI
This section is going to be pretty short as everything is the same between the standalone CLI and the NPM version except for how we get it and how we run it.
We download the standalone CLI from the releases page of the Tailwind GitHub repo. You will need to pick the right version for your OS. For example, I’m on an Intel MacBook Pro, so I would download the tailwindcss-macos-x64 version. Mac and Linux users will also need to give the executable executable permissions using the following command:
chmod +x tailwindcss-macos-x64
To save a bit of typing, I’d also recommend renaming it to tailwindcss, but I’ll leave that up to you.
At this point we can copy the standalone CLI into the root of our Blazor project and then use it in the same way we did for the NPM version.
First, we can generate a new Tailwind configuration file.
./tailwindcss init
Then update it with the file types to watch.
module.exports = {
  content: ["./src/**/*.{razor,html,cshtml}"],
  theme: {
    extend: {},
  },
  plugins: [],
}
Create the source CSS file: Styles/app.css. Then add the Tailwind directives.
@tailwind base;
@tailwind components;
@tailwind utilities;
We can run the standalone CLI to generate the output CSS file and watch for changes.
./tailwindcss -i ./Styles/app.css -o ./wwwroot/app.css --watch
Finally, we can add a reference to the output CSS file in the host page.
<head>
    ...
    <title>Tailwind via Standalone CLI</title>
    <base href="/" />
    <link href="app.css" rel="stylesheet" />
</head>
As you can see, everything is exactly the same, just without the need for NPM. For those of you who are using Tailwind in multiple projects, I’d suggest moving the standalone CLI to an appropriate location on your system and then adding that to the PATH. This will save you having to put a copy into every project.
One final thing. If you’re attempting to do this with a Blazor WebAssembly Hosted solution using Hot Reload via Visual Studio 2022 you might hit this issue. However, it does appear to work fine when running via the .NET CLI.
Summary
In this post, we’ve talked about the new features introduced in Tailwind v3. The highlights being the move to JiT mode as the default, the new Play CDN, and the standalone Tailwind CLI.
We then looked at 3 different ways to configure our Blazor applications to use Tailwind. The first was using the new Play CDN. A great option for prototyping or demos apps. The second was using the Tailwind CLI via NPM. This requires installing NodeJs and executing the CLI via the npx command. The third was the new standalone Tailwind CLI. This can be downloaded from the releases area of the Tailwind GitHub page. Once downloaded, it provides the same functionality as the NPM version without the need for NodeJs to be installed.
